Expert Tips for a Flawless Closure Wig Install

A proper closure wig install holds significant importance for achieving a flawless look. Closure wigs offer several benefits, including lower maintenance and versatility in styling. These wigs provide full coverage and protection for natural hair, making them ideal for those dealing with hair loss or thinning hair. The expertise behind these tips comes from professionals like the experts at Luvmeforyou, ensuring that anyone can achieve a seamless and natural appearance. A 6x6 closure wig can last four to six weeks with proper care, making it a convenient option for many.
Preparation

Gathering Necessary Tools
A successful closure wig install begins with gathering the right tools. Essential items include:
Wig cap: A wig stocking cap holds down stray hairs and keeps the wig in place.
Adhesives and tapes: Products like Got2B Glued Blasting Freeze Spray ensure the wig stays secure.
Scissors and combs: These tools help in trimming and styling the wig.
Hair clips and pins: These keep sections of hair out of the way during the installation process.
Preparing Your Natural Hair
Proper preparation of natural hair is crucial for a seamless look.
Braiding or slicking down
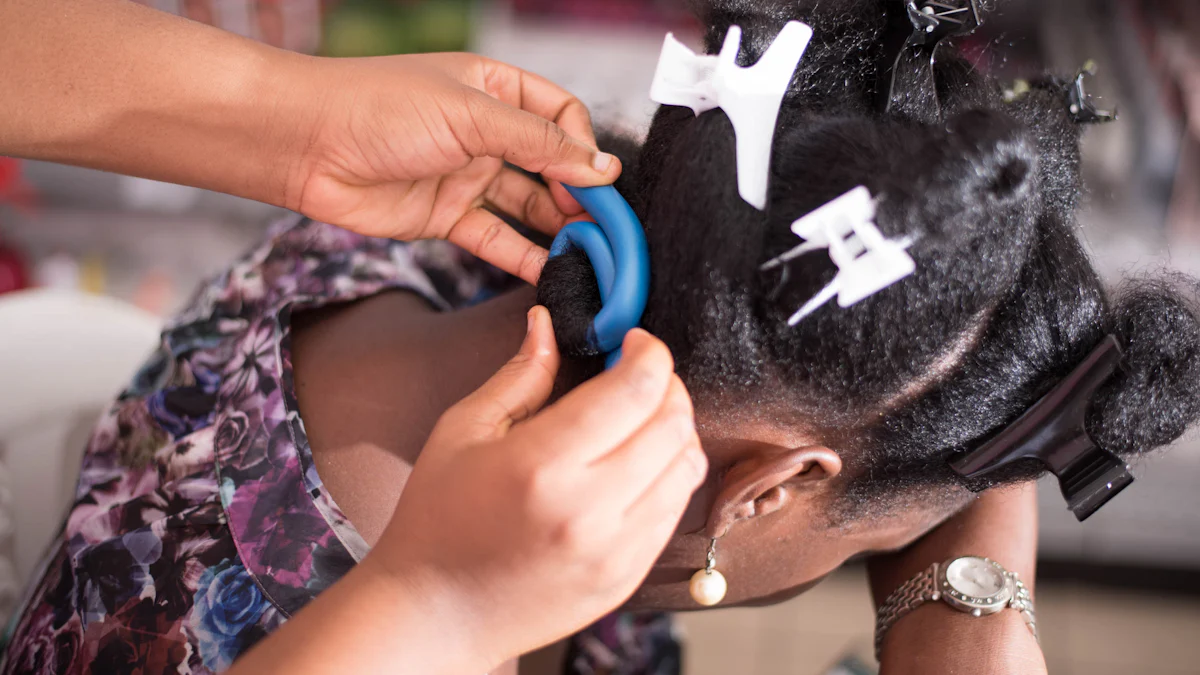
Start by braiding the natural hair into cornrows or slicking it down. This step creates a flat surface for the closure wig.
Applying a wig cap
Place a wig cap over the braided or slicked-down hair. Ensure the cap covers all the natural hair to prevent any strands from sticking out.
Preparing the Closure Wig
Preparation of the closure wig ensures a natural and flawless appearance.
Customizing the lace
Trim the lace on the closure wig to match the natural hairline. This step helps in blending the wig seamlessly with the scalp.
Bleaching the knots
Bleach the knots on the lace to make them less visible. This process gives the wig a more natural look by mimicking the appearance of the scalp.
Plucking the hairline
Pluck the hairline of the closure wig to create a more natural and less dense look. This step helps in achieving a realistic hairline that blends well with the natural hair.
Installation Process

Securing the Wig Cap
Positioning the cap
Properly positioning the wig cap ensures a smooth base for the 6x6 closure wig. Place the cap over the natural hair, making sure it covers all strands. Adjust the cap until it sits comfortably and securely.
Using adhesive or gel
Use an adhesive or gel to secure the wig cap in place. Apply a thin layer of Got2B Glued Blasting Freeze Spray along the hairline. Press down gently to ensure the cap adheres well to the scalp. Allow the adhesive to dry completely before proceeding.
Applying the Closure Wig
Aligning the closure
Align the closure wig with the natural hairline. Position the lace closure so it matches the contours of the scalp. Ensure the wig sits evenly on the head to avoid any unevenness.
Securing the closure with adhesive
Apply a small amount of ghost bond glue along the edge of the lace closure. Press the lace gently onto the scalp, starting from the center and moving outward. Hold the lace in place for a few seconds to ensure a secure bond.
Blending the closure with natural hair
Blend the edges of the closure wig with the natural hair for a seamless look. Use a fine-tooth comb to gently blend the wig hair with the natural hair. Apply a small amount of makeup to the lace to match the scalp color.
Styling the Wig
Cutting and trimming
Cut and trim the closure wig to achieve the desired style. Use sharp scissors to trim any excess lace and shape the wig. Make sure to follow the natural hairline for a realistic appearance.
Curling or straightening
Style the closure wig by curling or straightening the hair. Use a flat iron or curling wand to achieve the desired look. Always use a heat protectant spray to prevent damage to the wig fibers.
Setting with hairspray
Set the styled closure wig with a light mist of hairspray. This step helps maintain the hairstyle throughout the day. Choose a flexible hold hairspray to keep the wig looking natural and soft.
Tips and Tricks
Ensuring a Natural Look
Using makeup to blend the lace
Makeup can help blend the lace of the closure wig with the scalp. Use a foundation or powder that matches the skin tone. Apply the makeup along the edges of the lace. This step will make the lace less visible and create a seamless look. A small makeup brush works best for this task.
Avoiding bulky braids
Bulky braids can ruin the natural appearance of a closure wig. Ensure the braids lie flat against the scalp. Smaller, tighter cornrows work better than larger ones. This technique creates a smooth surface for the wig. A flat base helps the wig sit naturally on the head.
Maintaining the Wig
Regular cleaning
Regular cleaning keeps the closure wig looking fresh. Use a gentle shampoo and conditioner designed for wigs. Wash the wig every two weeks or as needed. Avoid using hot water, which can damage the fibers. Rinse thoroughly and let the wig air dry.
Proper storage
Proper storage extends the life of a closure wig. Store the wig on a wig stand or mannequin head. This method helps maintain the shape and style. Keep the wig in a cool, dry place away from direct sunlight. Cover the wig with a silk or satin scarf to protect it from dust.
Troubleshooting Common Issues
Fixing lifting edges
Lifting edges can occur over time. Reapply a small amount of adhesive to the lifting areas. Use a fine-tooth comb to press the lace back into place. Hold the lace down until the adhesive dries. This quick fix will keep the wig secure.
Dealing with shedding
Shedding is a common issue with closure wigs. Minimize shedding by handling the wig gently. Use a wide-tooth comb to detangle the hair. Avoid pulling or tugging on the strands. Regular conditioning treatments can also help reduce shedding.
Achieving a flawless closure wig install involves several key steps. Properly preparing natural hair and gathering the necessary tools ensures a smooth process. Customizing the lace, bleaching the knots, and plucking the hairline contribute to a natural look. Securing the wig cap and applying the closure wig with precision are crucial. Styling the wig enhances the overall appearance.
"Whether you’re new to wigs or have been wearing them for years, these expert tips and tricks for setting up a perfect install should help make sure everything looks seamless and stays put no matter what life throws at you!"
Try these techniques to achieve a professional look. For more tips and product recommendations, explore additional resources.


