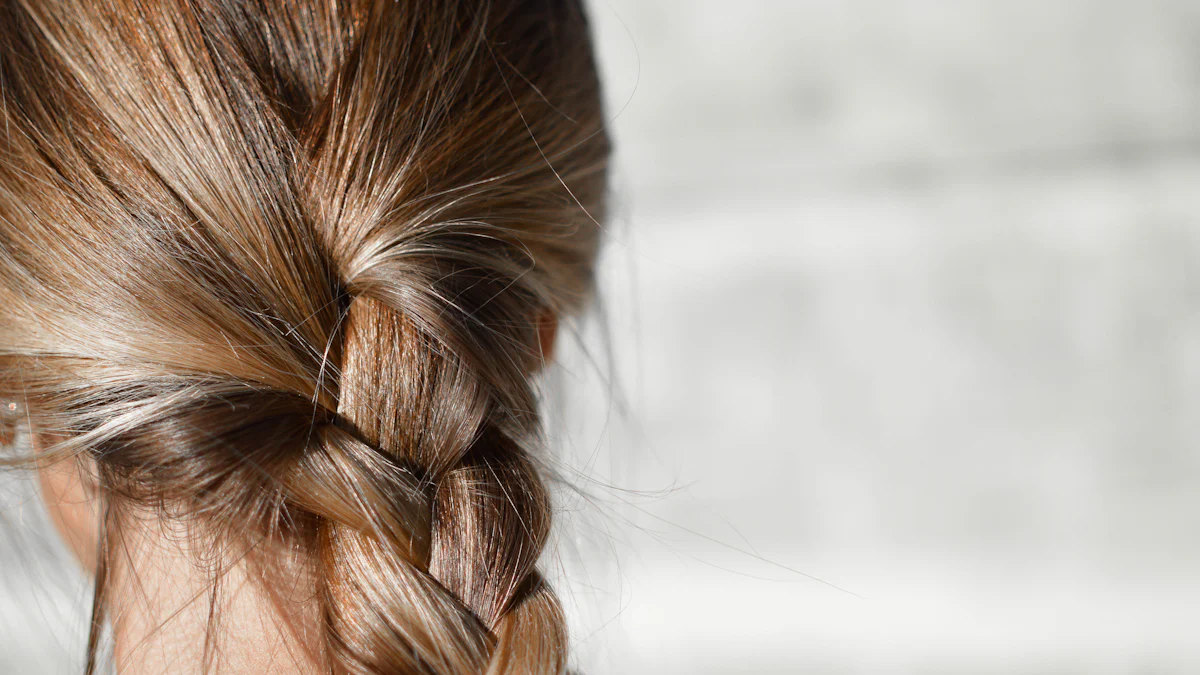
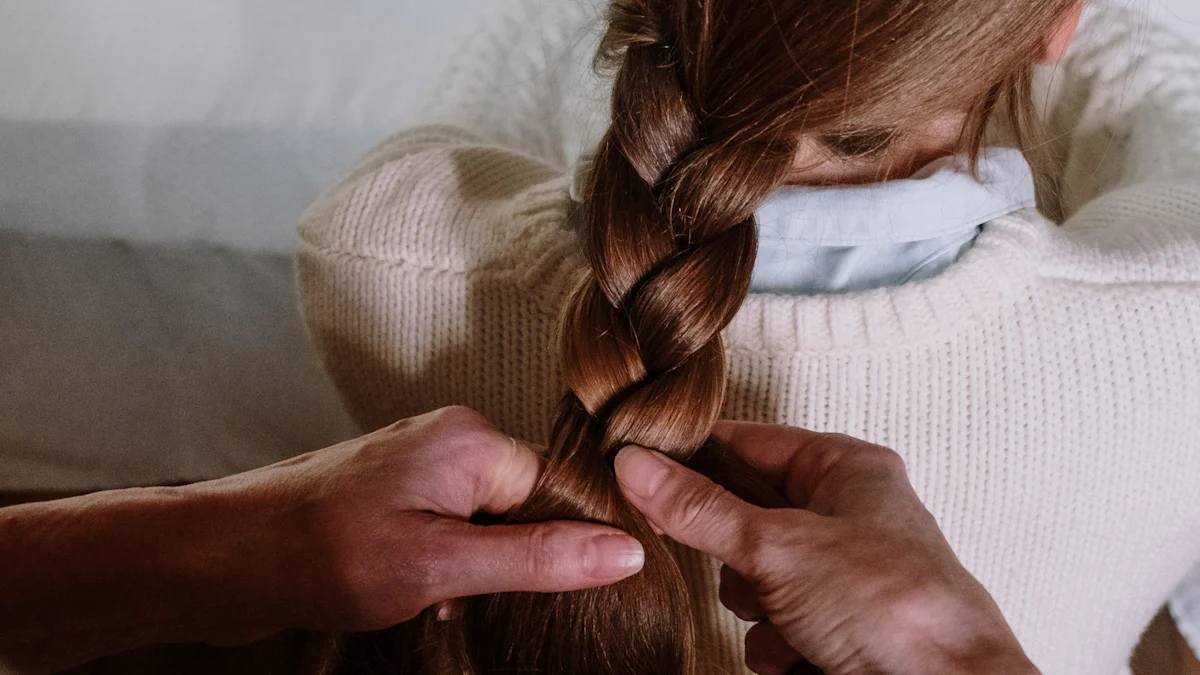
How to Braid Hair for a U-Part Wig

Proper braiding for a U part wig is crucial. A well-braided base ensures a secure and comfortable fit. This helps achieve a natural look. Luvmeforyou offers the best U part wig human hair options. The right braid pattern for U part wig installation makes a significant difference. Enjoy a flawless hairstyle with confidence.
Preparation
Gather Tools and Supplies
Before starting, gather all necessary tools and supplies. Having everything ready will make the process smoother.
List of Necessary Tools
Comb: A fine-tooth comb works best for sectioning.
Hair Clips: Use these to keep sections of hair out of the way.
Mirror: A handheld or wall-mounted mirror helps you see the back of your head.
Conair French Braider: This tool can assist beginners in mastering braiding styles.
List of Necessary Supplies
Hair Ties: Small, snag-free hair ties work best for securing braids.
Moisturizing Spray: Keeps hair hydrated and manageable.
Conditioner: A leave-in conditioner helps maintain moisture.
Towel: Use a towel to dry your hair after washing.
Prepare Your Hair
Proper preparation ensures a smooth braiding process and a comfortable fit for your U-Part wig.
Wash and Condition Your Hair
Start by washing your hair with a gentle shampoo. Clean hair provides a better base for braiding. Follow up with a deep conditioner to keep your hair soft and manageable. Rinse thoroughly to remove all product residue.
Detangle and Dry Your Hair
After washing, detangle your hair using a wide-tooth comb. Work from the ends to the roots to avoid breakage. Dry your hair completely before starting the braiding process. Damp hair can lead to mold and mildew under the wig.
Sectioning the Hair

Create the U-Part Section
Determine the placement of the U-Part
First, decide where you want the U-Part on your head. Most people prefer the middle or side part. Use a mirror to check the placement. Make sure it aligns with your natural part.
Use a comb to section off the U-Part area
Next, grab a fine-tooth comb. Start at the front of your hairline. Draw the comb back to create a clean line. Repeat on the other side to form a "U" shape. Ensure the lines are straight and even. This will make the wig look more natural.
Secure the U-Part Section
Clip the U-Part section out of the way
Now, take some hair clips. Clip the U-Part section away from the rest of your hair. This keeps the section neat and prevents it from mixing with other hair. Check in the mirror to ensure the section stays in place.
Ensure the section is neat and even
Finally, double-check the U-Part section. Make sure the lines are straight and the section is even. Adjust if needed. A neat section makes the braiding process easier. It also helps the wig sit better on your head.
Braid Pattern for U-Part Wig

Start with the Perimeter Braids
Braid along the hairline
Begin by braiding along the hairline. Use a fine-tooth comb to part a small section of hair at the front. Start from one side and work your way to the other. Keep the braids close to the scalp. This will create a neat and secure base for the wig.
Secure the ends with hair ties
Once you finish braiding along the hairline, secure the ends with small hair ties. Make sure the ties are snug but not too tight. This will keep the braids in place and prevent them from unraveling.
Create Cornrows
Divide the remaining hair into sections
Next, divide the remaining hair into sections. Use the comb to create even parts. The number of sections will depend on the thickness of your hair. Aim for sections that are easy to manage.
Braid each section into cornrows
Start braiding each section into cornrows. Begin at the root and braid down to the ends. Keep the braids tight and close to the scalp. This will ensure a flat and smooth base for the wig.
Ensure the braids are tight and secure
After completing all the cornrows, check to make sure they are tight and secure. Tug gently on each braid to test its strength. If any braids feel loose, redo them. A secure braid pattern for U-Part wig installation is essential for a comfortable fit and natural look.
Final Adjustments
Check the Braids
Ensure all braids are secure and neat
Take a moment to inspect each braid. Look for any loose or uneven sections. Secure braids help the wig fit better and look more natural. Use a mirror to check the back of your head. Make sure every braid lies flat against your scalp.
Make any necessary adjustments
Fix any issues you spot. Tighten loose braids by re-braiding them. Smooth out any bumps or lumps. A neat braid pattern ensures a comfortable and flawless wig installation. Don't rush this step. Taking your time now will save you trouble later.
Prepare for Wig Installation
Moisturize the scalp
Keep your scalp healthy by moisturizing it. Use a light, non-greasy moisturizer. Apply it evenly across your scalp. This step prevents dryness and itchiness under the wig. A well-moisturized scalp feels more comfortable throughout the day.
Apply a wig cap if desired
Consider using a wig cap for extra security. A wig cap helps keep your braids in place. It also provides a smooth surface for the wig. Choose a cap that matches your skin tone for a seamless look. Put the cap on carefully, making sure it covers all your hair.
Now you're ready for the final step: installing your U-Part wig. Enjoy your new look with confidence!
Proper braiding for a U-Part wig ensures a secure and natural look. Take your time with each step to achieve the best results. Share your experiences and tips in the comments below. Explore additional resources and tutorials for more guidance.


