How to Install a 4x4 Lace Closure Wig Step by Step

A 4x4 lace closure wig install offers a natural and secure fit with minimal shedding. This type of wig features a lace piece measuring four inches by four inches, located where you would normally part your hair. Proper installation ensures a seamless and natural look. Beginners can easily follow along with the step-by-step guide provided. Luvmeforyou's collection of 4x4 lace closure wigs makes the process straightforward and enjoyable. Achieve a flawless look with the right techniques and tools, whether you prefer a middle part or a 4x4 closure wig side part.
Preparing Your Hair and Wig

Washing and Conditioning Your Natural Hair
Importance of Clean Hair
Clean hair provides a solid foundation for wig installation. Dirt and oils can affect the adhesive's effectiveness. Clean hair also promotes scalp health.
Recommended Products
Use sulfate-free shampoos and conditioners. These products maintain natural hair moisture. Brands like SheaMoisture and Cantu offer excellent options.
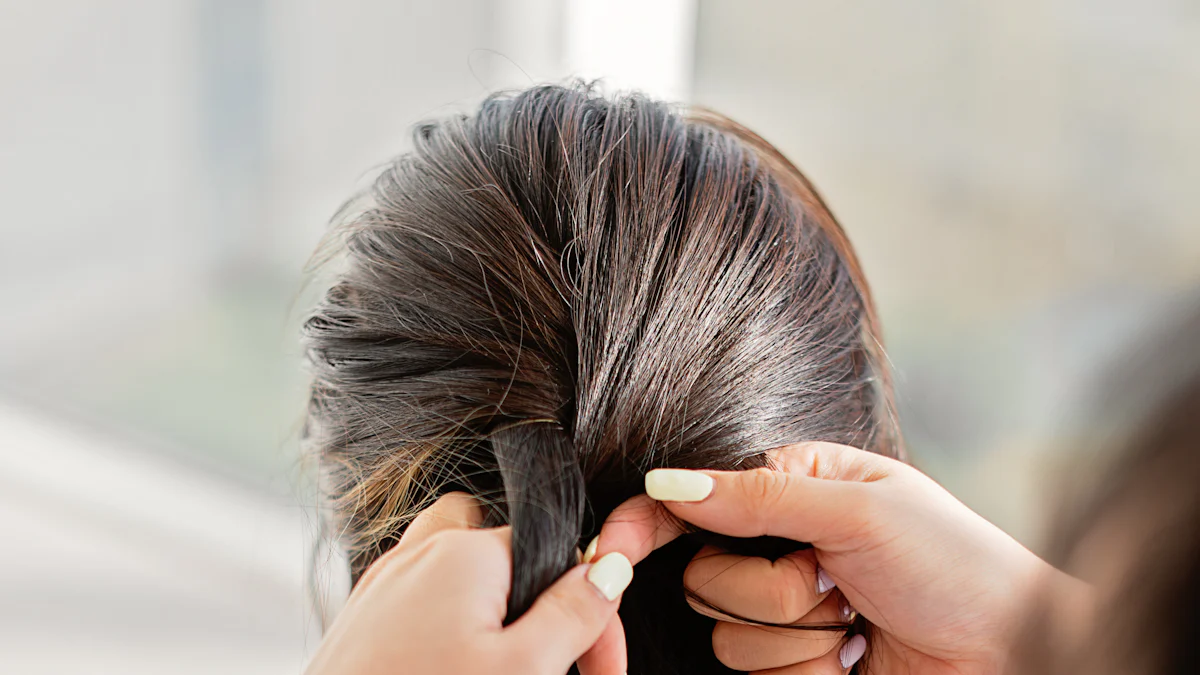
Braiding Your Hair
Types of Braids Suitable for Wig Installation
Cornrows are ideal for wig installation. They create a flat surface, making the wig look more natural. Other suitable braids include box braids and twist braids.
Step-by-Step Braiding Instructions
Part your hair into sections.
Braid each section tightly.
Secure the ends with small rubber bands.
Ensure all braids lie flat against your scalp.
Preparing the Wig
Washing and Conditioning the Wig
Wash the wig before installation. Use a gentle shampoo and conditioner. Rinse thoroughly to remove all product residue.
Customizing the Wig (Plucking, Bleaching Knots)
Pluck the hairline for a more natural look. Use tweezers to remove excess hair. Bleach the knots to match your scalp color. This step makes the wig appear more realistic.
Expert Tip: "Whether you’re new to wigs or have been wearing them for years, these expert tips and tricks for setting up a perfect install should help make sure everything looks seamless and stays put no matter what life throws at you!"
4x4 Lace Closure Wig Install

Applying a Wig Cap
Choosing the Right Wig Cap
Select a wig cap that matches your skin tone. A matching cap helps create a seamless look. Nylon and mesh caps work well for most people.
Securing the Wig Cap
Place the wig cap over your head. Ensure all natural hair fits under the cap. Adjust the cap so it sits snugly on your scalp. Use bobby pins to secure any loose edges.
Positioning the Lace Closure
Aligning the Closure with Your Natural Hairline
Position the lace closure at your natural hairline. Make sure the closure aligns perfectly. Check the symmetry on both sides of your head.
Securing the Closure with Clips or Pins
Use clips or pins to hold the closure in place. Secure the closure at the front and sides. Ensure the closure stays flat against your scalp.
Attaching the Wig
Using Adhesive or Glue
Apply adhesive or glue along your hairline. Use a small brush for precise application. Wait for the adhesive to become tacky. Press the lace closure onto the adhesive. Hold the closure in place until it sets.
Sewing the Wig for Extra Security
Thread a needle with strong thread. Sew the wig along the perimeter of the closure. Use small, tight stitches for a secure fit. Knot the thread securely when finished.
Expert Tip: "For a flawless 4x4 lace closure wig install, take your time with each step. Precision ensures a natural and long-lasting result."
Finishing Touches
Blending the Lace with Your Skin
Using Makeup to Conceal the Lace
Use makeup to blend the lace with your skin. Choose a foundation that matches your skin tone. Apply the foundation along the lace edge. Use a small brush for precise application. Blend the makeup into your skin and the lace.
Tips for a Seamless Look
Achieve a seamless look with a few tips. First, ensure the lace lies flat against your scalp. Second, use a translucent powder to set the makeup. This step prevents the makeup from smudging. Third, apply a small amount of hair gel to smooth any flyaways. Finally, check the lace in natural light to ensure a perfect blend.
Testimonial: "Learning how to wear a wig is easy when you invest in one from Daniel Alain's Follea collection. Our wigs are constructed with 100% European hair sourced from our private reserve. Each strand is delicately hand-tied to our comfortable caps designed with a thin, nearly invisible lace that outlines the hairline—giving the illusion that the wig is growing directly from your scalp."
Styling the Wig
Heat Styling Tips
Heat styling can enhance the look of your wig. Use a heat protectant spray before applying heat. Set your styling tools to a low temperature. Avoid using temperatures above 350°F. Style the wig in small sections for better control. Allow the wig to cool before touching it.
Recommended Products for Styling
Choose the right products for styling your wig. Use a lightweight serum to add shine. Opt for a flexible hold hairspray to maintain the style. A wide-tooth comb works best for detangling. For curls, use a curling wand with a ceramic barrel. For straight styles, a flat iron with adjustable heat settings works well.
Expert Tip: "Whether you’re new to wigs or have been wearing them for years, these expert tips and tricks for setting up a perfect install should help make sure everything looks seamless and stays put no matter what life throws at you!"
Recap the installation process to ensure a flawless 4x4 lace closure wig install. Clean and braid your natural hair. Prepare the wig by washing and customizing it. Apply a wig cap and position the lace closure. Attach the wig using adhesive or sewing methods. Blend the lace with makeup and style the wig.
Practice and experiment with different techniques. Each attempt will improve your skills. Do not fear trying new styles or methods.
Share your experiences or ask questions in the comments. The community can provide support and advice. Your journey with wigs can inspire others.


