How to Install a Flat U-Part Wig - Luvmeforyou

U-part wigs have gained immense popularity in the hair care community. These wigs offer a natural-looking wear without completely covering your hair. The focus here is on the flat U-part wig, which provides unique benefits like a seamless blend with your natural hair. The goal of this post is to provide a step-by-step guide for installing a flat U-part wig from Luvmeforyou. Whether you're shopping for a Luvmeforyou U-part wig or browsing for an eBay U-part wig, this guide will help you achieve a flawless and natural look.
Understanding U-Part Wigs
What is a U-Part Wig?
Definition and structure
A U-part wig features hair extensions sewn onto a U-shaped wig cap. The U-part sits on top of the wig, allowing your natural hair to blend seamlessly through the opening. This design creates a more natural-looking hairline. U-part wigs come with adjustable straps and clips for a secure fit. The fine clear mesh and clips underneath ensure comfort and stability.
Different types of U-part wigs
U-part wigs come in various styles and textures. You can choose from straight, wavy, or curly options. Each type offers unique styling possibilities. Some wigs feature lace fronts for added realism. Others have different parting options to suit your preference.
Benefits of U-Part Wigs
Natural look and versatility
U-part wigs offer a natural look by blending with your own hair. This feature provides unmatched versatility. You can style the wig in various ways. The ability to create different parts and styles enhances your overall appearance. These wigs mimic natural hair, making them ideal for everyday wear.
Ease of installation and removal
Installing a U-part wig is straightforward. The process involves aligning the U-part with your natural hair part. Secure the wig using the built-in clips. Removal is equally simple. Just unclip the wig and take it off. This ease of use makes U-part wigs a popular choice for many.
Why Choose a Flat U-Part Wig?
Specific advantages of flat U-part wigs
A flat U-part wig offers several advantages. The flat design ensures a seamless blend with your natural hair. This feature provides a more realistic look. The wig lies flat against your scalp, enhancing comfort. The flat structure also makes styling easier. You can achieve a sleek, polished appearance effortlessly.
Comparison with other wig types
Flat U-part wigs stand out compared to other wig types. Traditional wigs often require more maintenance. Lace front wigs can be cumbersome to install. Flat U-part wigs offer a simpler alternative. The flat design eliminates bulkiness. This feature makes the wig more comfortable and natural-looking. Luvmeforyou offers high-quality flat U-part wigs that meet these criteria.
Preparing for Installation

Gathering Necessary Tools
List of tools and products needed
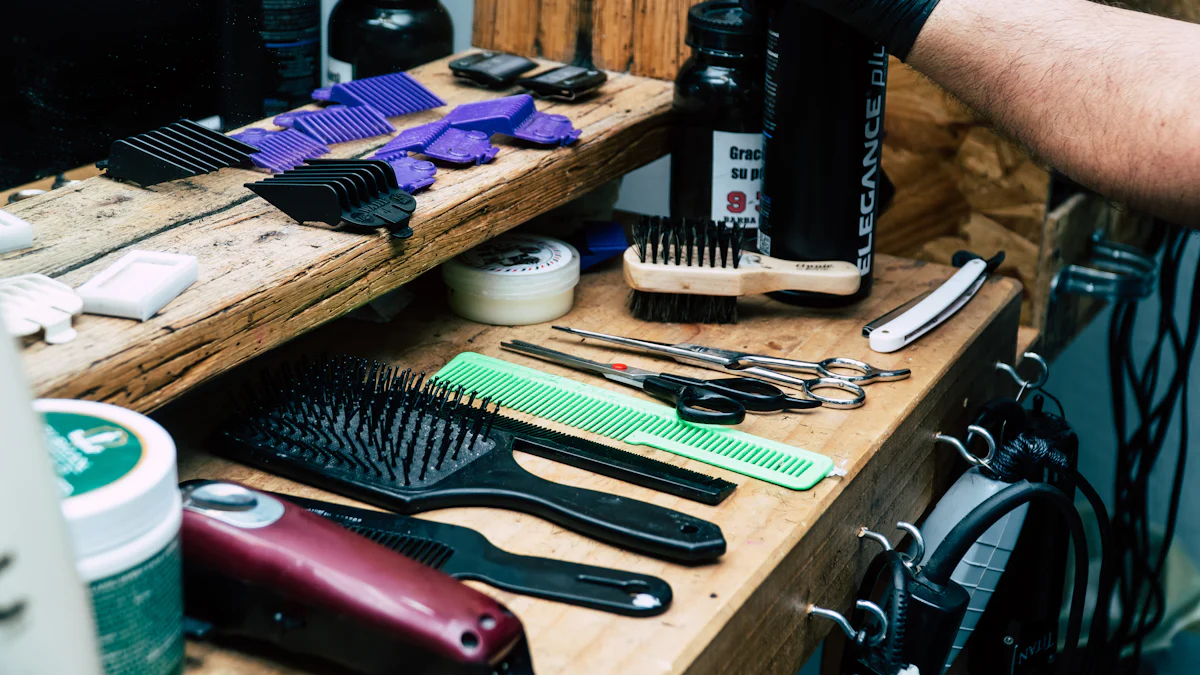
To install a flat U-part wig, gather the following tools and products:
Rat tail comb: For parting your hair accurately.
Wig clips or combs: To secure the wig in place.
Hairpins or bobby pins: For additional security.
Scissors: To trim any excess lace or adjust the wig cap.
Hair gel or edge control: To smooth and blend your natural hair.
Blow dryer or flat iron: For styling and blending purposes.
Importance of each tool
Each tool plays a crucial role in the installation process. The rat tail comb ensures precise parting, which is essential for a natural look. Wig clips or combs provide stability, preventing the wig from shifting. Hairpins or bobby pins offer extra security, especially during active days. Scissors help customize the wig cap for a perfect fit. Hair gel or edge control smooths your natural hair, making the blend seamless. A blow dryer or flat iron assists in styling, ensuring a polished finish.
Prepping Your Natural Hair
Washing and conditioning
Start by washing and conditioning your natural hair. Clean hair provides a better foundation for the wig. Use a sulfate-free shampoo and a moisturizing conditioner. Rinse thoroughly to remove all product residues. Dry your hair completely before proceeding to the next step.
Braiding or securing hair
Next, braid your hair into cornrows to create a flat base. If your hair is long, consider braiding it close to the scalp. This step ensures that the wig lies flat against your head. Secure any loose ends with hairpins or bobby pins. Leave a small section of hair at the front to cover the U-shaped opening of the wig.
Preparing the Wig
Checking the wig for fit
Before installing, check the wig for fit. Place the wig on your head and adjust the straps for a snug fit. Make sure the U-part aligns with your natural hair part. The wig should feel comfortable and secure.
Adjusting the wig cap
Adjust the wig cap if necessary. Use scissors to trim any excess lace or material. Ensure that the wig cap sits flat against your scalp. This step enhances comfort and ensures a natural appearance. Once adjusted, the wig is ready for installation.
Step-by-Step Installation Guide

Positioning the Wig
Aligning the U-part with your natural part
Start by placing the wig on your head. Align the U-shaped opening of the wig with your natural hair part. Use a rat tail comb to ensure precision. Proper alignment will create a seamless blend between your natural hair and the wig.
Securing the wig with clips or combs
Secure the wig using the built-in clips or combs. Attach the clips to the braids or sections of your natural hair. Ensure that each clip is firmly in place. This step will prevent the wig from shifting throughout the day. Check for any loose areas and adjust as needed.
Blending Your Natural Hair
Pulling out and blending your natural hair
Pull out the small section of your natural hair left at the front. Blend this hair with the wig hair. Use your fingers or a comb to achieve a smooth transition. This process will enhance the natural look of the wig.
Using styling tools for a seamless look
Use styling tools like a flat iron or blow dryer to blend your natural hair with the wig. Apply a small amount of hair gel or edge control to smooth any flyaways. Style your hair as desired to achieve a polished appearance. The goal is to make the wig indistinguishable from your natural hair.
Final Adjustments
Ensuring a secure fit
Check the overall fit of the wig. Ensure that all clips and combs are secure. Adjust the straps if necessary for a snug fit. A secure fit will provide comfort and confidence throughout the day.
Styling the wig for a natural appearance
Style the wig to match your natural hair texture and desired look. Use a flat iron for a sleek finish or a curling iron for waves. Apply a light mist of hairspray to hold the style in place. Make final adjustments to ensure a flawless and natural appearance.
Maintenance Tips
Daily Care
Brushing and detangling
Use a wide-tooth comb to brush your U-part wig. This tool will protect the wig and smooth out tangles and knots. Always start from the ends and work your way up to the roots. Avoid using regular brushes, which can cause damage. Regular brushing keeps the wig looking fresh and prevents it from becoming disheveled.
Storing the wig properly
Proper storage extends the lifespan of your U-part wig. Place the wig on a wig stand when not in use. This practice maintains the shape and prevents tangling. Store the wig in a cool, dry place away from direct sunlight. Use a silk or satin bag for additional protection. Proper storage ensures the wig remains in top condition.
Washing and Conditioning
Recommended products
Choose sulfate-free moisturizing hair care products for washing your U-part wig. Sulfate-free shampoos and conditioners are gentle and preserve the wig's quality. Products designed for human hair wigs work best. Avoid harsh chemicals that can damage the wig fibers. Using the right products keeps the wig soft and manageable.
Step-by-step washing guide
Detangle the wig: Use a wide-tooth comb to remove any knots.
Prepare the water: Fill a basin with lukewarm water.
Add shampoo: Mix a small amount of sulfate-free shampoo into the water.
Wash the wig: Submerge the wig and gently swirl it in the water. Avoid rubbing or twisting.
Rinse thoroughly: Rinse the wig under cool running water until all shampoo is removed.
Condition the wig: Apply a sulfate-free conditioner and let it sit for a few minutes.
Rinse again: Rinse the conditioner out with cool water.
Dry the wig: Gently squeeze out excess water with a towel. Place the wig on a stand to air dry. Avoid using heat tools for drying.
Long-Term Care
Avoiding damage
Protect your U-part wig from heat damage by using a heat protectant spray. Apply the spray before using any heat styling tools. Limit the use of heat tools to maintain the wig's integrity. Avoid exposing the wig to harsh weather conditions. Keep the wig away from chlorine and saltwater. These practices prevent damage and extend the wig's lifespan.
Extending the lifespan of the wig
Regular maintenance extends the life of your U-part wig. Follow a consistent care routine that includes washing, conditioning, and proper storage. Avoid over-styling and excessive use of products. Rotate between different wigs to reduce wear and tear. Investing time in maintenance ensures your wig remains beautiful and durable for months.
FAQs
Common Questions
How long can I wear a U-part wig?
You can wear a U-part wig for up to six weeks. Regular maintenance ensures the wig stays in good condition. Remove the wig periodically to allow your natural hair to breathe. This practice helps maintain the health of your scalp and natural hair.
Can I style a U-part wig with heat tools?
Yes, you can style a U-part wig with heat tools. Use a heat protectant spray before applying any heat. Limit the use of high temperatures to prevent damage. Opt for low to medium heat settings for best results. Heat styling adds versatility to your wig, allowing for different looks.
Troubleshooting
What to do if the wig feels loose
If the wig feels loose, adjust the straps for a snug fit. Secure the built-in clips firmly to your natural hair. Add extra bobby pins for additional security. Ensure the wig cap sits flat against your scalp. These steps will help keep the wig in place throughout the day.
How to fix blending issues
Blending issues can occur if the wig and natural hair do not match. Use a flat iron to smooth out any discrepancies. Apply hair gel or edge control to blend the hairline seamlessly. Consider dyeing the wig to match your natural hair color. Proper blending techniques ensure a flawless and natural look.
Recap the key points of the installation process. Start by preparing your natural hair with washing, conditioning, and braiding. Gather necessary tools like a rat tail comb, wig clips, and hairpins. Position the wig by aligning the U-part with your natural part and securing it with clips. Blend your natural hair using styling tools for a seamless look. Ensure a secure fit and style the wig for a natural appearance.
Encourage readers to try installing a flat U-part wig themselves. The process is straightforward and provides a natural, versatile look.
Invite readers to share their experiences and ask further questions. Your feedback helps improve future guides and offers valuable insights to the community.


