


How to Make a Lace Front Wig Look Natural with Luvmeforyou
Lace front wigs have become a staple in the world of beauty. These wigs offer versatility and a natural appearance, making them a favorite among many. Achieving a natural look with lace front wigs is crucial for confidence and style. Luvmeforyou provides a trusted method to ensure your wig looks flawless. The Luvmeforyou 4-in-1 lace front wig simplifies the process, helping you say, "Buh-bye bulky helmet hair." Learn how to make a wig a lace front with ease, and discover the secrets of how to apply lace front wigs seamlessly.
Understanding Lace Front Wigs
What is a Lace Front Wig?
Definition and Features
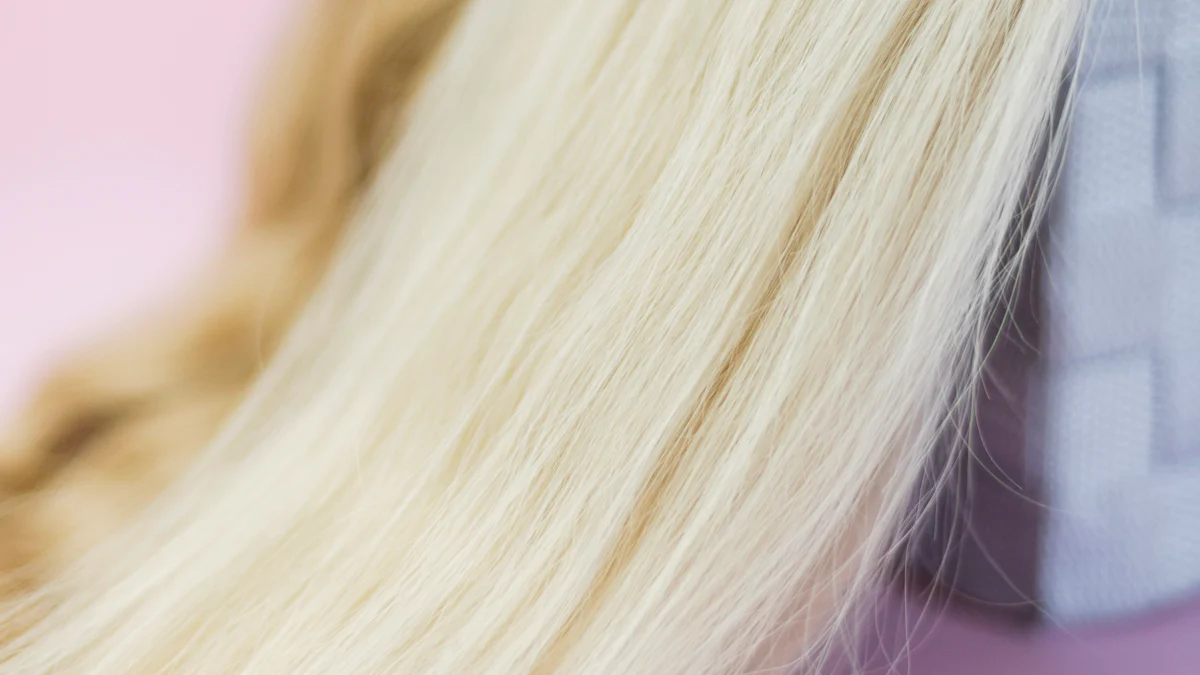
A lace front wig has a sheer lace panel along the front hairline. The lace blends with the scalp, creating a natural look. The rest of the wig consists of a more durable material. This design allows for versatile styling. You can part the hair in different ways. The lace front also provides a seamless transition from the forehead to the wig.
Benefits of Lace Front Wigs
Lace front wigs offer many benefits. The natural appearance tops the list. The lace mimics a real hairline. This makes the wig look like your own hair. These wigs also provide versatility. You can style them in various ways. Comfort is another advantage. The lace is lightweight and breathable. This makes the wig comfortable to wear for long periods. Durability is also a key benefit. With proper care, lace front wigs can last a long time.
Why Choose Luvmeforyou?
Unique Selling Points
Luvmeforyou offers unique features. The 4-in-1 lace front wig comes pre-bleached and pre-plucked. This saves you time and effort. The adjustable piano keys elastic band ensures a secure fit. The wig also features an invisi-scalp for a natural look. Deep parting allows for versatile styling options. High-quality craftsmanship guarantees durability. The wig is perfect for both beginners and pros.
Customer Testimonials
Many customers rave about Luvmeforyou. One customer said, "The lace front wig looks so natural. I get compliments all the time." Another customer mentioned, "The wig is so comfortable. I can wear it all day without any issues." A third customer added, "The pre-plucked hairline saved me so much time. The wig fits perfectly and looks amazing."
Tools and Materials Needed
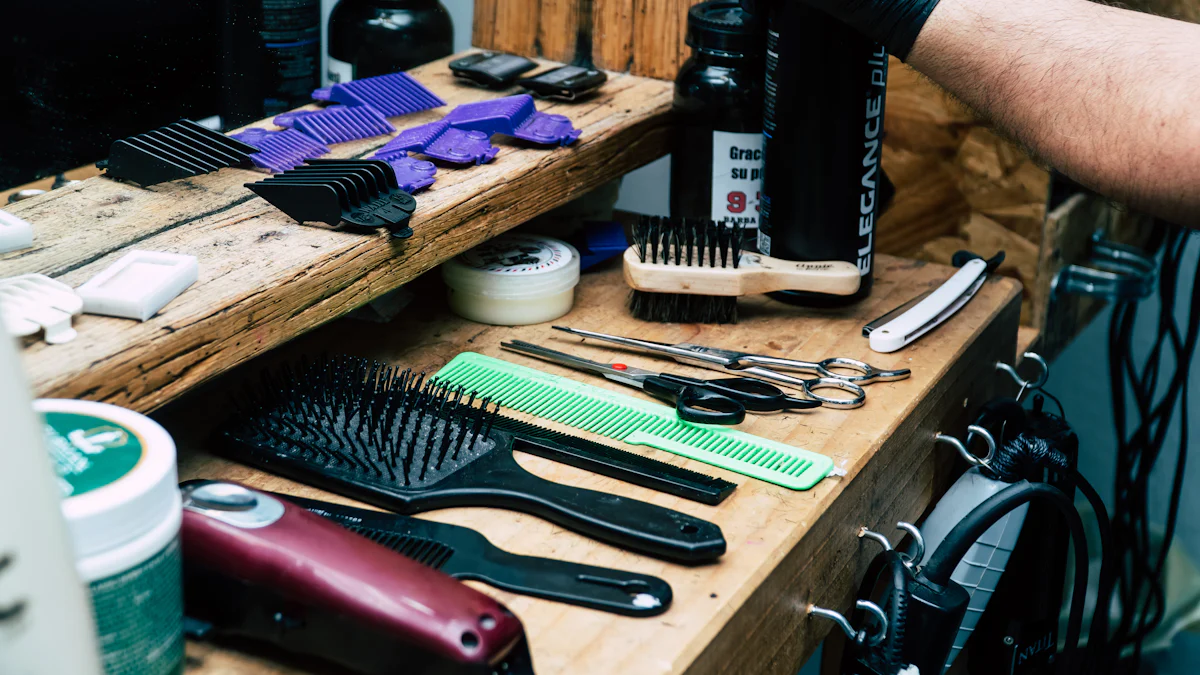
Essential Tools
Wig Stand
A wig stand provides a stable base for working on your wig. The stand holds the wig in place, making it easier to style and customize. A sturdy stand ensures that the wig remains secure during the process.
Lace Adhesive
Lace adhesive is essential for securing the lace front wig to your scalp. Choose a high-quality adhesive to ensure a strong hold. Apply the adhesive carefully to avoid any mess or discomfort.
Scissors and Tweezers
Scissors and tweezers are crucial for customizing the wig. Use scissors to trim the lace and shape the hairline. Tweezers help pluck the hairline for a more natural look. Precision tools make a big difference in achieving a flawless finish.
Recommended Materials
Lace Front Wig
A lace front wig serves as the foundation for your new look. The Luvmeforyou 4-in-1 lace front wig comes pre-bleached and pre-plucked, saving you time and effort. This wig offers a natural appearance with its invisi-scalp feature and deep parting options.
Wig Cap
A wig cap helps create a smooth base for the wig. The cap keeps your natural hair flat and secure. This prevents any bumps or unevenness under the wig. Choose a cap that matches your skin tone for a seamless look.
Hair Products (Shampoo, Conditioner, etc.)
Proper care extends the lifespan of your wig. Use quality hair products like shampoo and conditioner to keep the wig clean and soft. Deep condition the wig once a month for extra nourishment. Regular upkeep ensures that the wig looks its best.
By gathering these tools and materials, you set yourself up for success. Each item plays a vital role in making your lace front wig look natural and stunning.
Step-by-Step Guide to Making Your Wig Look Natural

Preparing the Wig
Washing and Conditioning
Start by washing your lace front wig. Use a gentle shampoo and conditioner. This removes any residue and keeps the wig fresh. Rinse thoroughly to avoid any leftover product. Clean hair makes the lace front wig install process smoother.
Drying and Detangling
Dry the wig using a towel. Avoid rubbing to prevent tangling. Use a wide-tooth comb to detangle the hair gently. A comb helps keep the hair smooth and ready for styling. Let the wig air dry on a wig stand. This maintains the shape and avoids heat damage.
Customizing the Hairline
Plucking the Hairline
Pluck the hairline to create a natural look. Use tweezers for precision. Focus on thinning out the hairline. A natural hairline makes your lace front wig look more realistic. Take your time to avoid over-plucking.
Cutting the Lace
Cut the excess lace carefully. Use small scissors for better control. Cut in a zig-zag motion. This helps the lace blend with your scalp. Be cautious not to cut too close to the hairline. Properly cutting the lace ensures a seamless look.
Applying the Wig
Securing the Wig Cap
Wear a wig cap to keep your natural hair flat. The cap creates a smooth base. Choose a cap that matches your skin tone. This helps the wig blend better with your scalp. Secure the cap to prevent any movement.
Applying Lace Adhesive
Apply lace adhesive along your hairline. Use a high-quality Active Lace Wig Adhesive. Wait for the adhesive to become tacky. This ensures a strong hold. Carefully position the lace onto the adhesive.
Positioning the Wig
Position the wig starting from the front. Align the lace with your natural hairline. Press down gently to secure the lace. Use a comb to smooth out any bumps. Adjust the wig until it feels comfortable and looks natural.
Styling Tips
Blending with Natural Hair
Blending the wig with your natural hair creates a seamless look. Start by parting your natural hair where the wig will sit. Use a comb to smooth out any bumps. Apply a small amount of hair gel to keep the hair in place. Position the wig so the lace aligns with your hairline. Use a brush to blend the wig hair with your natural hair. This step ensures a flawless transition.
Using Heat Tools
Heat tools can help style your wig. Use a flat iron to straighten the hair. Set the iron to a low heat setting. High heat can damage the wig fibers. Glide the iron through small sections of hair. For curls, use a curling wand. Wrap small sections around the wand and hold for a few seconds. Release the hair gently to avoid frizz. Always use a heat protectant spray before applying heat. This keeps the wig looking fresh and shiny.
Final Touches
Final touches make a big difference. Use a bit of concealer along the parting line. This matches the lace to your scalp color. Apply a light mist of hairspray to set the style. Avoid using too much product. Heavy products can weigh down the hair. Check for any loose strands or flyaways. Use a small brush to smooth them out. Finally, give the wig a gentle shake. This adds volume and a natural bounce. Enjoy your flawless, natural-looking lace front wig!
FAQs and Troubleshooting
Common Questions
How to Remove the Wig Safely?
Removing a lace front wig requires care. Start by loosening the lace adhesive with a wig adhesive remover. Apply the remover along the hairline. Let it sit for a few minutes. This helps dissolve the adhesive. Gently lift the lace from the front. Work your way back. Avoid pulling to prevent damage. Once removed, clean the lace and your scalp. Use a gentle cleanser to remove any residue. Store the wig on a wig stand to maintain its shape.
How to Maintain the Wig?
Maintaining a lace front wig ensures longevity. Wash the wig regularly with a gentle shampoo. Condition the hair to keep it soft. Avoid using heavy products. These can weigh down the hair. Detangle the wig with a wide-tooth comb. Start from the ends and work your way up. Air-dry the wig on a wig stand. Avoid heat to prevent damage. Deep condition the wig once a month. This keeps the hair nourished and shiny. Store the wig in a cool, dry place. Use a silk bag to prevent tangling.
Troubleshooting Tips
Fixing Loose Lace
Loose lace can ruin the look of a lace front wig. Secure the lace with additional adhesive. Apply a small amount along the hairline. Press the lace down firmly. Use a comb to smooth out any bumps. For extra security, use an elastic band inside the wig cap. This keeps the lace tight against your scalp. Check the lace regularly. Reapply adhesive as needed.
Dealing with Shedding
Shedding can occur with lace front wigs. Minimize shedding by handling the wig gently. Avoid excessive brushing. Use a wide-tooth comb instead. Wash the wig with a gentle shampoo. Condition the hair to keep it strong. Avoid using heat tools frequently. High heat can weaken the hair fibers. If shedding persists, consider using a wig repair kit. These kits contain products to reinforce the hair strands.
"Best hair wig I bought. This hair is soooooooooo silk and smooth. It is soooo amazing; this wig exceeded my expectations. Fantastic purchase. Excellent quality hair. Hair very soft, silky, and flowy with no shedding. No smell, true to length! The length is perfect. Wig is extremely accurate to description and pictures."
Following these tips will help you maintain a flawless, natural-looking lace front wig.
You now know how to make a wig a lace front with Luvmeforyou. The key steps include preparing the wig, customizing the hairline, and applying the wig securely. Using the right tools and materials ensures a natural look. Try the Luvmeforyou method for an easy and effective way to achieve a flawless lace front wig. Share your experiences and tips in the comments. Your insights can help others on their journey to perfecting their lace front wigs.


