How to make your own u part wig

Creating a U part wig offers several benefits. Learning how to make your own U part wig allows for customization to match personal style and preferences. This process can save money compared to purchasing pre-made wigs. A U part wig features a U-shaped opening at the top, allowing natural hair to blend seamlessly with the wig. DIY U part wigs provide control over the quality and type of hair used. Luvmeforyou offers high-quality materials for creating a U part wig, ensuring a natural look and feel. Additionally, if you need to adjust the fit, there are tips available on how to make a U part wig smaller. Learning how to make your own U part wig can be a rewarding and cost-effective endeavor.
Materials Needed

Tools
Wig Cap
A wig cap serves as the foundation for a U-part wig. Choose a breathable and stretchy material to ensure comfort. The cap should fit snugly on the head, providing a secure base for sewing the hair extensions.
Weft Hair Extensions
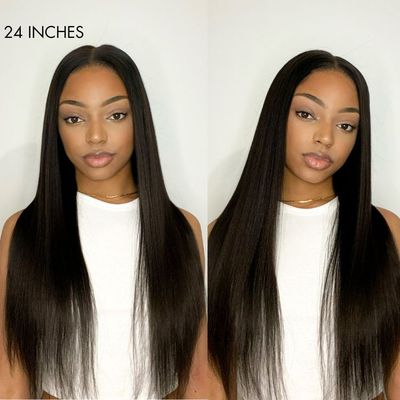
Weft hair extensions provide the volume and length for the wig. Select high-quality human hair for a natural look and feel. The Kinky Straight U Part Quick & Easy Affordable 100% Human Hair Wig from Luvmeforyou offers an excellent option with its natural black color and 150% density.
Scissors
Scissors are essential for cutting the wig cap and weft hair extensions. Use sharp scissors to ensure clean cuts, which will make the sewing process easier and more precise.
Needle and Thread
A needle and thread are necessary for sewing the weft hair extensions onto the wig cap. A C-curved needle works best for this task. Use thick black thread to securely attach the wefts to the cap.
Hair Clips
Hair clips help in sectioning the hair during the sewing process. These clips keep the hair organized and out of the way, making it easier to work on specific sections of the wig.
Mannequin Head
A mannequin head provides a stable base for constructing the wig. Secure the wig cap onto the mannequin head to ensure accurate placement and sewing of the weft hair extensions.
Optional Tools
Wig Stand
A wig stand holds the mannequin head in place, offering additional stability. This tool is especially useful for those who prefer working at a comfortable height.
Hair Straightener or Curler
A hair straightener or curler allows for styling the wig after construction. These tools help in blending the wig with natural hair, creating a seamless look.
Hair Dye
Hair dye offers customization options for the wig. Use dye to match the wig color with natural hair or to achieve a desired style. The Kinky Straight U Part Quick & Easy Affordable 100% Human Hair Wig can be dyed to suit individual preferences.
By gathering these materials, anyone can begin the process of creating a U-part wig. Each tool plays a crucial role in ensuring the final product looks natural and fits comfortably.
Step-by-Step Guide

how to make your own u part wig: Preparing the Wig Cap
Choosing the right wig cap
Selecting the correct wig cap is crucial for comfort and fit. A breathable and stretchy material ensures a snug fit. The cap should match the head size for a secure base. The Kinky Straight U Part Quick & Easy Affordable 100% Human Hair Wig from Luvmeforyou comes with a medium cap size, providing a comfortable fit for most users.
Cutting the U-part
Cutting the U-part requires precision. Place the wig cap on a mannequin head. Use sharp scissors to cut a U-shaped section at the top of the cap. The opening should align with the natural parting of the hair. This step allows the natural hair to blend seamlessly with the wig.
how to make your own u part wig: Sewing the Weft Hair Extensions
Measuring and cutting the wefts
Measure the weft hair extensions against the wig cap. Cut the wefts into sections that fit the cap's width. High-quality human hair wefts, like those from Luvmeforyou, provide a natural look and feel. Accurate measurements ensure a smooth sewing process.
Sewing the wefts onto the wig cap
Secure the wig cap on the mannequin head. Use a C-curved needle and thick black thread to sew the wefts onto the cap. Start from the bottom edge and work upwards. Ensure each weft lies flat against the cap. This method provides a natural and voluminous appearance.
Customizing the Wig
Blending the wig with your natural hair
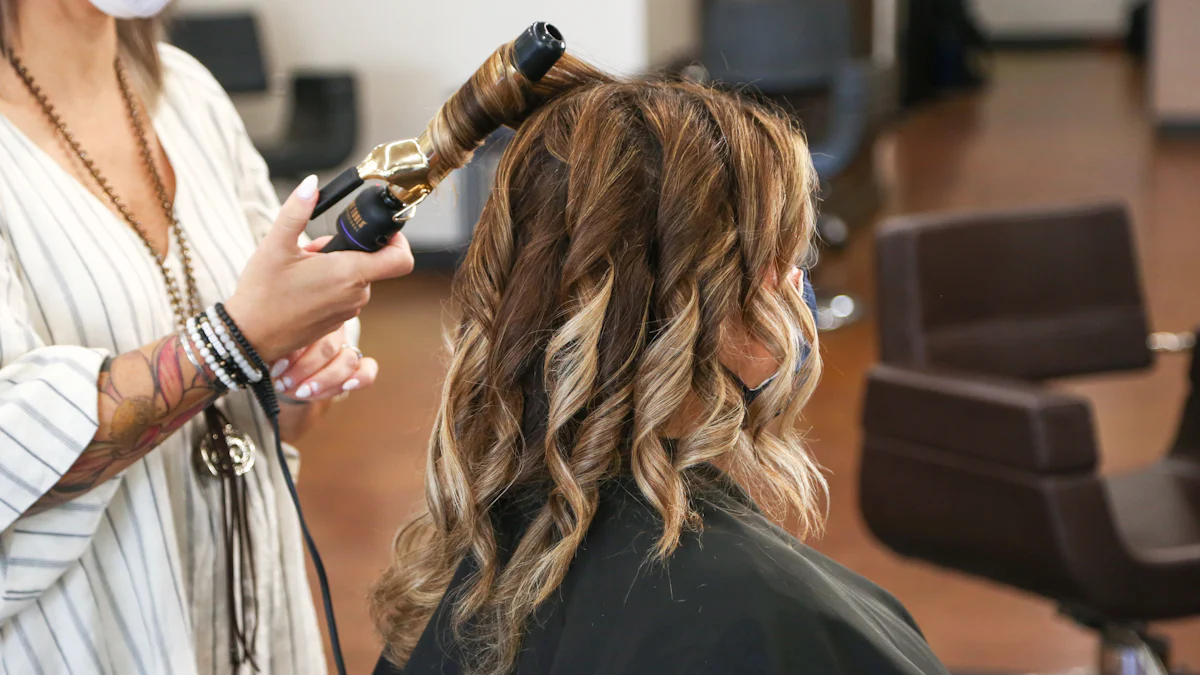
Blending the wig with natural hair creates a seamless look. Position the U-part opening to align with the natural hair parting. Use a hair straightener or curler to style both the wig and natural hair. This step ensures a cohesive and polished appearance.
Styling the wig
Styling the wig enhances its overall look. Use hair clips to section the wig. Style each section with a hair straightener or curler. For added customization, consider dyeing the wig to match personal preferences. The Kinky Straight U Part Quick & Easy Affordable 100% Human Hair Wig can be dyed to suit individual styles.
Tips for Customization
Choosing the right hair texture
Selecting the appropriate hair texture ensures a natural blend with your own hair. Consider the density and curl pattern of your natural hair. The Kinky Straight U Part Quick & Easy Affordable 100% Human Hair Wig from Luvmeforyou offers a versatile option. This texture mimics natural hair, providing a seamless look. High-quality human hair allows for various styling options. Always match the wig's texture to your natural hair for the best results.
Coloring the wig
Coloring the wig adds a personal touch. Use high-quality hair dye to achieve the desired shade. The Kinky Straight U Part Quick & Easy Affordable 100% Human Hair Wig can be dyed to match any style preference. Follow the dye manufacturer's instructions carefully. Conduct a strand test before applying the dye to the entire wig. This step ensures the color will turn out as expected. Proper coloring techniques maintain the integrity of the hair.
Maintaining the wig
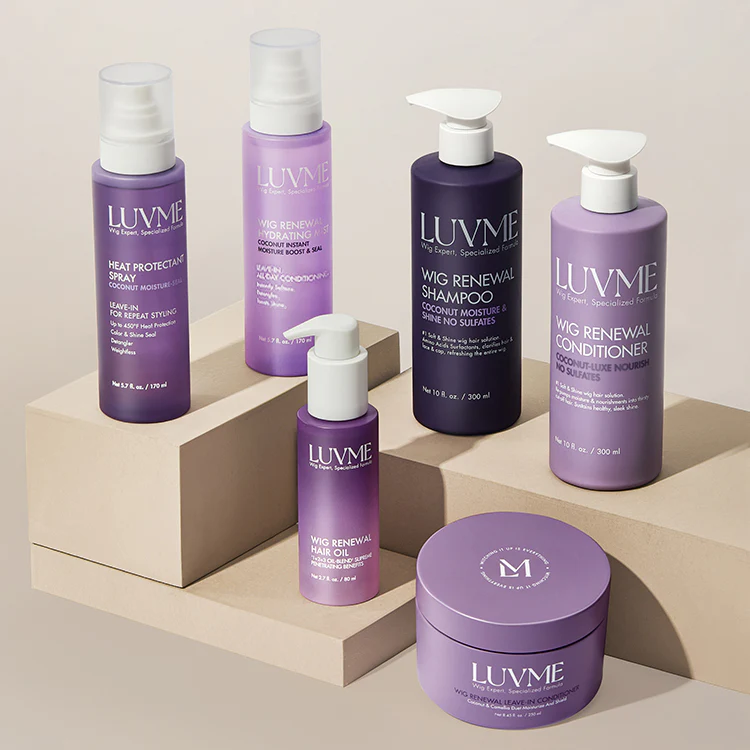
Proper maintenance extends the lifespan of the wig. Regular washing and conditioning keep the hair looking fresh. Use sulfate-free shampoos and conditioners designed for human hair wigs. Gently detangle the hair with a wide-tooth comb. Avoid excessive heat styling to prevent damage. Store the wig on a mannequin head or wig stand to maintain its shape. Follow these steps to ensure the wig remains in excellent condition for up to a year.
Expert Testimony:
"Wig making, dressing, and styling are integral parts of any theatre, film, or TV production. Wigs used for performance are often more delicate than those made for everyday use and require extensive modeling and styling."
By choosing the right hair texture, coloring the wig carefully, and maintaining it properly, anyone can achieve a natural and stylish look.
Creating a U-part wig offers many benefits. Customization allows for a perfect match to personal style and preferences. Making a wig at home can save money compared to buying pre-made options. Control over the quality and type of hair used ensures a natural look.
"It's just super easy guys, so I hope you guys see this and are motivated and excited to make your own wig because it's really not hard at all."
Consider trying to make a U-part wig. The process is straightforward and rewarding. For additional resources, explore tutorials and guides available online.


