


How to Style a Side Part Closure Wig Easily

A side part closure wig offers a stylish and natural look. Proper styling of a closure wig ensures a flawless appearance. Many users, like Jessica, find that extra products help achieve the desired style. Dr. Emily, a hair specialist, recommends using wig-specific products for easier styling and hair protection. The Luvmeforyou brand provides versatile options, including the pixie cut wig with lace closure, praised for its ease of maintenance. Follow this guide to style your wig effortlessly and enjoy a fresh look every day.
Understanding Side Part Closure Wigs
What is a Side Part Closure Wig?
Definition and Features
A side part closure wig offers a natural look by featuring a hairpiece called a closure. This closure gets sewn on top of the wig cap. The closure creates an illusion of a natural hairline and scalp area. You can part your hair in any direction within the closure area. This type of wig provides versatility and ease of styling.
Benefits of Using a Side Part Closure Wig
Using a side part closure wig brings many benefits. First, it offers a natural appearance. The closure mimics a real scalp, making the wig look more realistic. Second, it provides comfort. The wig feels lightweight and breathable. Third, it allows for versatile styling. You can change your parting and style the wig as desired. Lastly, it suits various occasions. Whether for daily wear or special events, a side part closure wig fits perfectly.
Comparing Side Part Closure Wigs to Other Wig Types
Lace Frontal Wigs
Lace frontal wigs cover the entire front hairline from ear to ear. These wigs offer a natural-looking hairline and allow for various styling options. You can pull the hair back or part it in different ways. The Luvmeforyou 4-in-1 Lace Frontal Wig stands out for its premium quality and comfort.
T-Part Wigs
T-part wigs feature lace from ear to ear with a 'T' shape in the middle of the parting space. These wigs offer limited styling options compared to other types. You cannot change the parting freely. However, T-part wigs provide a natural hairline and are easy to maintain.
Pros and Cons of Each Type
Each wig type has its pros and cons.
Side Part Closure Wig:
Pros: Natural look, versatile styling, lightweight comfort.
Cons: Limited to parting within the closure area.
Lace Frontal Wig:
Pros: Full front hairline coverage, versatile styling.
Cons: Higher maintenance, more expensive.
T-Part Wig:
Pros: Natural hairline, easy to maintain.
Cons: Limited styling options, fixed parting.
Choosing the right wig depends on your needs and preferences. A side part closure wig offers a balanced mix of natural appearance and styling versatility. For a chic and carefree hairstyle, consider the pixie cut wig with lace closure. This wig provides ease of maintenance and suits various occasions.
Preparing Your Wig for Styling

Cleaning and Detangling
Recommended Products
To keep your wig looking fresh, start with the right products. Dr. Emily, a hair specialist, suggests using wig-specific shampoos and conditioners. These products help maintain the wig's texture and shine. Avoid regular hair products, as they can damage the wig fibers. Luvmeforyou offers a range of wig care products that work well for different types of wigs.
Step-by-Step Cleaning Process
Detangle: Gently comb through the wig with a wide-tooth comb. Start from the ends and work your way up to avoid breakage.
Rinse: Use lukewarm water to rinse the wig. Hold the wig under running water until it is completely wet.
Shampoo: Apply a small amount of wig shampoo. Work it through the hair in a downward motion. Avoid scrubbing or twisting the hair.
Rinse Again: Rinse the wig thoroughly with lukewarm water. Make sure all the shampoo is washed out.
Condition: Apply wig conditioner, focusing on the ends. Leave it on for a few minutes, then rinse thoroughly.
Dry: Pat the wig dry with a towel. Do not wring or twist the hair. Place the wig on a wig stand to air dry. Avoid using heat tools for drying.
Setting Up Your Styling Area
Tools and Accessories Needed
Creating a perfect styling area requires some essential tools and accessories. Here’s a list to get you started:
Wig Stand: Keeps the wig in place while you style it.
Wide-Tooth Comb: Helps detangle the wig without causing damage.
Heat Protectant Spray: Essential if you plan to use heat styling tools.
Hair Clips: Useful for sectioning the hair during styling.
Styling Tools: Flat iron, curling iron, and blow dryer (with a cool setting).
Creating an Ideal Workspace
Set up your workspace in a well-lit area. Good lighting helps you see what you’re doing and ensures even styling. Keep all your tools and products within reach. A clutter-free space makes the process smoother and more enjoyable. Use a mirror to check your progress from different angles. This helps you achieve a balanced and natural look.
Step-by-Step Guide to Styling a Side Part Closure Wig
Creating the Perfect Side Part
Finding the Right Parting Line
Start by placing your closure wig on a wig stand. Use a wide-tooth comb to find the natural parting line. Look for the area where the hair naturally separates. This will help create a more realistic look. Comb the hair gently to define the parting line.
Securing the Part
Once you have found the right parting line, secure it with hair clips. Use a small amount of styling gel to keep the part in place. This will prevent the hair from moving around. Let the gel dry for a few minutes before proceeding to the next step.
Styling Techniques
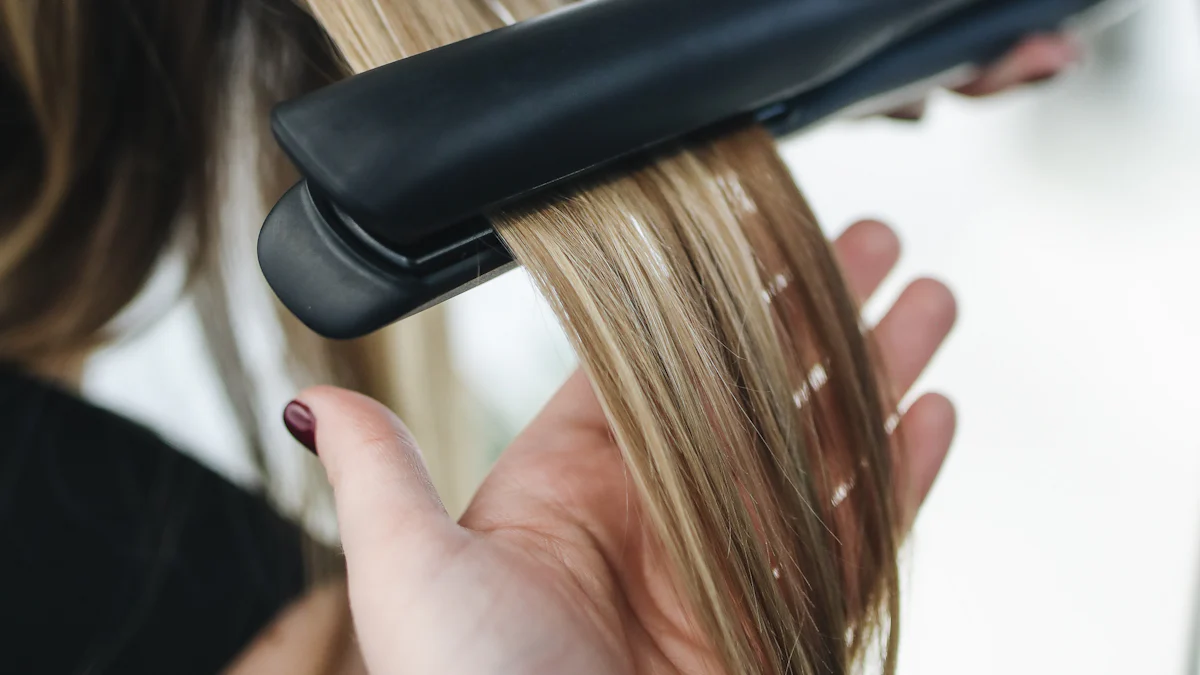
Straightening
Plug in your flat iron and set it to a medium heat setting. Spray a heat protectant on the closure wig to prevent damage. Section the hair into small parts using hair clips. Run the flat iron through each section from the roots to the tips. Repeat until the entire wig is straightened.
Curling
For curls, use a curling iron instead. Apply a heat protectant spray to the wig. Divide the hair into small sections. Wrap each section around the curling iron and hold for a few seconds. Release the hair and let the curls cool. Use your fingers to separate and style the curls.
Adding Volume
To add volume, use a blow dryer with a cool setting. Flip the wig upside down and blow dry the roots. This will lift the hair and create volume. You can also use a volumizing mousse. Apply a small amount to the roots and work it through the hair with your fingers.
Securing the Wig on Your Head
Using Wig Caps
Wear a wig cap to keep your natural hair in place. Choose a cap that matches your skin tone. Place the cap on your head and tuck in all your hair. This will create a smooth base for the closure wig.
Adjusting Straps and Combs
Most wigs come with adjustable straps and combs. Use these to secure the wig on your head. Adjust the straps for a snug fit. Insert the combs into your natural hair to keep the wig in place. Check in the mirror to make sure the wig looks natural and feels comfortable.
Additional Tips and Care Advice
Maintaining Your Styled Wig
Daily Care Routine
Keeping your wig looking fresh every day requires a simple routine. Start by gently brushing the wig with a wide-tooth comb each morning. This prevents tangles and keeps the hair smooth. Use a wig-specific spray to add shine and moisture. Avoid regular hair products, as they can damage the wig fibers.
When you remove the wig at night, place it on a wig stand. This helps maintain its shape and style. Cover the wig with a silk or satin scarf to protect it from dust. Avoid sleeping in your wig to prevent unnecessary wear and tear.
Long-Term Maintenance
Long-term care ensures your wig stays in top condition. Wash the wig every 10-15 wears using a gentle shampoo. Follow the step-by-step cleaning process mentioned earlier. Avoid excessive heat styling to prevent damage. Heat tools like blow dryers and curling irons can dry out and break the hair strands.
Store the wig properly when not in use. A wig stand works best for maintaining its shape. Trim the ends periodically to keep the hair looking fresh. Use wig-specific products for styling and conditioning to preserve the quality of the hair. Regular maintenance keeps your wig looking its best for a long time.
Troubleshooting Common Issues
Fixing Frizz and Tangles
Frizz and tangles can make your wig look messy. To fix frizz, apply a small amount of wig serum or oil. Work it through the hair with your fingers. Avoid using too much product, as it can weigh down the hair.
For tangles, start by gently combing the wig with a wide-tooth comb. Begin at the ends and work your way up. Use a detangling spray if needed. Avoid pulling or tugging on the hair to prevent breakage. Regular brushing helps prevent tangles from forming.
Dealing with Shedding
Shedding is a common issue with wigs. To minimize shedding, handle the wig gently. Avoid excessive brushing or combing. Use a wide-tooth comb to reduce stress on the hair strands.
When washing the wig, be gentle. Avoid scrubbing or twisting the hair. Rinse thoroughly to remove all shampoo and conditioner. Pat the wig dry with a towel instead of wringing it out. Proper care and handling reduce shedding and keep your wig looking full and natural.
Styling a side part closure wig can be easy and fun. Remember the key points:
Clean and detangle your wig properly.
Set up a good workspace with the right tools.
Follow the step-by-step guide for perfect styling.
Feel free to experiment with different looks. The versatility of the Luvmeforyou Pixie Cut Wig allows you to style it for any occasion. Try new techniques and enjoy the process.
Explore more wig styling tips and products from Luvmeforyou. Enhance your wig game and keep your look fresh every day!


