


Step-by-Step Guide to Installing a 10-Inch Closure Wig from Luvmeforyou
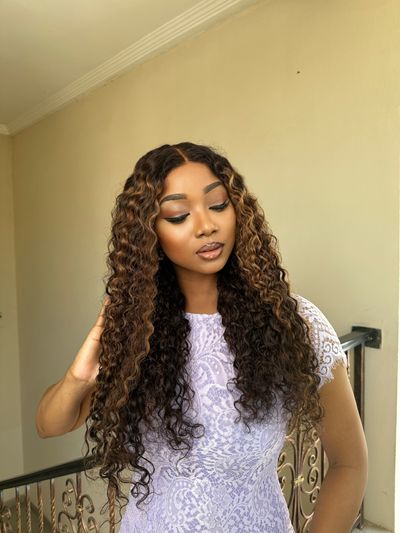
Proper wig installation can transform your look. A well-installed wig boosts confidence and enhances style. The 10-inch closure wig from Luvmeforyou offers a natural appearance and versatility. This wig suits various styling needs and provides easy maintenance. Achieving a natural and secure fit ensures comfort and longevity. The 10-inch closure wig from Luvmeforyou stands out for its durability and seamless blend with natural hair. Embrace the benefits of this wig to elevate your hair game effortlessly. Additionally, understanding the different types of closures for wigs can help you choose the best option for your needs, ensuring a flawless and natural look.
Preparation
Gathering Materials
List of Required Tools and Products
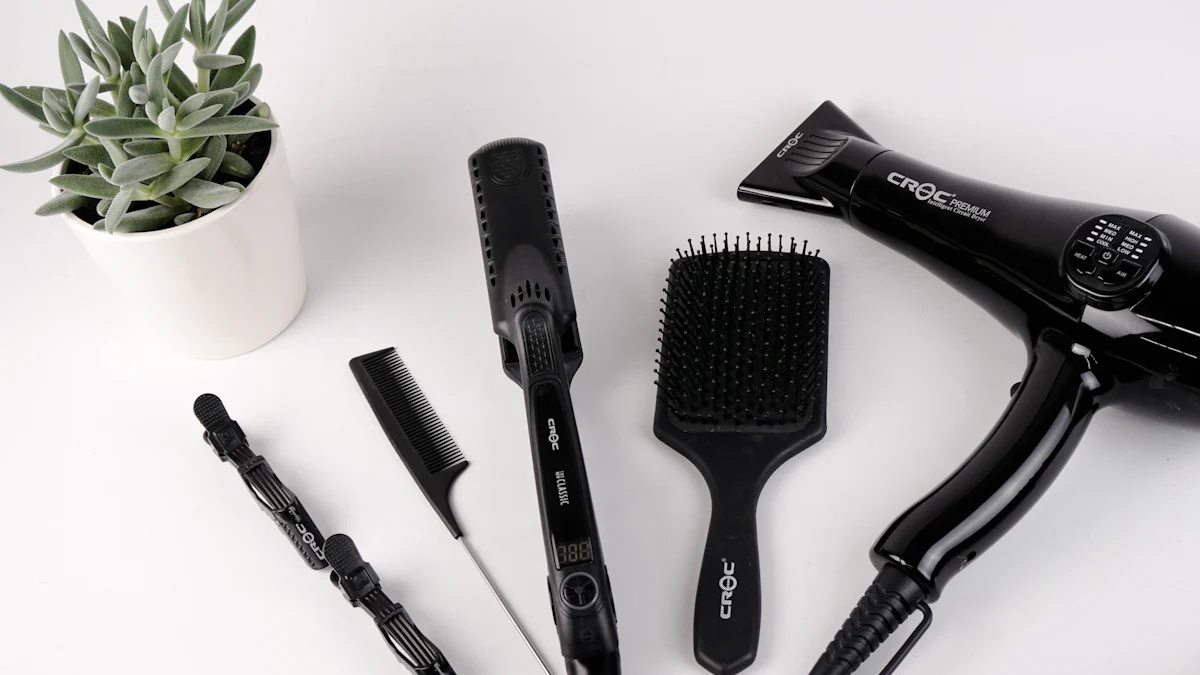
Start by gathering all necessary tools and products. You will need:
Wig stocking cap: Provides a base for the wig and ensures a secure fit.
Rattail comb: Helps with parting and detangling.
Wig adhesive or double-sided tape: Secures the wig along the hairline for a natural look.
Alcohol pad: Cleans the area where the wig will be adhered to ensure proper adhesion.
Having these items ready will streamline the installation process.
Importance of Having Everything Ready
Preparation sets the stage for a smooth installation. Gather all materials before starting. This will prevent interruptions and ensure a seamless experience. A well-prepared setup leads to better results and less stress.
Preparing Your Natural Hair
Washing and Conditioning
Clean hair provides a better foundation for the wig. Wash and condition your natural hair thoroughly. Use a gentle shampoo and a moisturizing conditioner. Clean hair helps the wig adhere better and feel more comfortable.
Braiding or Wrapping Hair
After washing, dry your hair completely. Braid or wrap your hair to create a flat surface. Flat hair ensures the wig sits naturally on your head. Secure the braids or wrap with bobby pins if needed. This step helps achieve a smooth and natural look.
Preparing the Wig
Customizing the Wig (Plucking, Bleaching Knots)
Customizing the wig enhances its natural appearance. Pluck the hairline to create a more realistic look. Bleach the knots to match your scalp color. These steps make the wig blend seamlessly with your natural hair.
Adjusting the Wig Cap
Adjust the wig cap for a snug fit. Use the adjustable straps inside the wig. Ensure the cap fits comfortably without being too tight. A well-fitted cap prevents the wig from shifting and maintains a natural look.
Installation Steps for a 10-Inch Closure Wig
Securing the Wig Cap
Choosing the Right Wig Cap
Selecting the correct wig cap is crucial. A wig cap provides a smooth base for the wig. Choose a cap that matches your skin tone for a natural look. The cap should fit snugly without causing discomfort. A well-fitted cap prevents the wig from shifting.
Applying the Wig Cap
Place the wig cap over your head. Ensure the cap covers all your hair. Tuck in any loose strands. Smooth the cap to eliminate wrinkles. A flat cap ensures the wig sits properly.
Applying Adhesive
Types of Adhesives (Glue, Tape)
Different adhesives suit different needs. Glue offers a strong hold for long-term wear. Tape provides an easier removal option. Both adhesives ensure the wig stays in place. Choose the adhesive based on your lifestyle and preferences.
How to Apply Adhesive Properly
Clean the area where the adhesive will be applied. Use an alcohol pad to remove oils and dirt. Apply a thin layer of glue or tape along your hairline. Allow the adhesive to become tacky. This step ensures a secure bond between the wig and your skin.
Placing the 10-Inch Closure Wig
Aligning the Wig with Your Hairline
Position the 10-inch closure wig on your head. Align the lace closure with your natural hairline. Ensure the wig sits evenly on both sides. Adjust the wig until it looks natural. Proper alignment creates a seamless blend with your natural hair.
Pressing and Securing the Wig
Press the wig onto the adhesive. Start from the center and work your way out. Use a comb to press the lace into the adhesive. This step ensures a strong bond. Secure the sides and back of the wig. A well-secured wig stays in place throughout the day.
Blending and Styling
Blending the Wig with Your Natural Hair
Blending your 10-inch closure wig from Luvmeforyou with your natural hair ensures a seamless look. Start by gently combing your natural hair to remove any tangles. Use a rattail comb to part your hair where the closure wig will sit. Align the lace closure with your natural part. Press the lace into the adhesive using the comb. This step helps the wig blend naturally with your hairline.
Next, use a small amount of concealer or foundation that matches your skin tone. Apply it along the parting line of the closure wig. This technique creates the illusion of a natural scalp. Lightly brush the wig and your natural hair together. This blending trick ensures no visible lines between the wig and your hair.
Styling Tips for a Natural Look
Styling your 10-inch closure wig from Luvmeforyou can be fun and creative. Begin by deciding on the style you want. For a sleek look, use a flat iron to straighten the wig. Ensure the temperature is set to a safe level to avoid heat damage. For a voluminous look, use a curling iron to add soft waves or curls.
To achieve a natural look, consider adding layers to the wig. Use hair-cutting scissors to trim the ends. This step adds movement and dimension to the hair. Avoid cutting too much at once. Trim small sections to maintain control over the length.
For added realism, style baby hairs around the hairline. Use a small toothbrush and a bit of styling gel. Gently lay the baby hairs down to mimic natural edges. This detail enhances the overall appearance of the closure wig.
Finally, finish with a light mist of hairspray. This step keeps the style in place without making the hair stiff. Remember to brush the wig daily to prevent tangles. Proper styling and maintenance ensure your 10-inch closure wig from Luvmeforyou looks flawless every day.
Maintenance Tips for Your Luvmeforyou Wig
Daily Care
Brushing and Detangling
Daily care keeps your 10-inch closure wig from Luvmeforyou looking fresh. Use a wide-tooth comb or a wig brush to detangle the hair. Start from the ends and work your way up to the roots. This method prevents unnecessary pulling and reduces shedding. Always handle the wig gently to maintain its natural appearance.
Avoiding Heat Damage
Heat styling tools can damage your 10-inch closure wig. Avoid using high temperatures when styling. If you must use heat, apply a heat protectant spray first. This product shields the hair from damage. Opt for low-heat settings on your styling tools. This practice prolongs the life of your wig and keeps it looking vibrant.
Washing the Wig
Frequency of Washing
Regular washing maintains the health and cleanliness of your 10-inch closure wig. Wash the wig every 1-2 weeks, depending on how often you wear it. Frequent washing removes dirt and product buildup. Clean wigs look more natural and last longer.
Recommended Products and Techniques
Use sulfate-free shampoo and conditioner for washing your wig. These products are gentle and preserve the wig's quality. Fill a basin with lukewarm water and add a small amount of shampoo. Submerge the wig and gently swish it around. Rinse thoroughly with cool water. Apply conditioner and let it sit for a few minutes before rinsing. Pat the wig dry with a towel and let it air dry on a wig stand. Avoid wringing or twisting the hair to prevent damage.
Storing the Wig
Proper Storage Methods
Proper storage keeps your 10-inch closure wig in top condition. Store the wig on a wig stand or mannequin head. This method helps maintain the wig's shape and prevents tangling. Keep the wig in a cool, dry place away from direct sunlight. Sunlight can fade the color and weaken the hair fibers.
Maintaining Wig Shape and Quality
Maintaining the shape and quality of your 10-inch closure wig from Luvmeforyou requires attention to detail. When not in use, cover the wig with a silk or satin scarf. This cover protects the hair from dust and friction. Avoid storing the wig in tight spaces where it can get crushed. Regularly check the wig for any signs of wear and tear. Addressing issues promptly ensures your wig stays in great condition.
Follow these steps to install your 10-inch closure wig for a flawless look. Enjoy the benefits of a natural and secure fit. Try the process yourself and share your experiences. Explore more wig options from Luvmeforyou.
-
Key Steps Recap:
Gather all necessary tools and products.
Prepare your natural hair by washing, conditioning, and braiding.
Customize and adjust the wig cap.
Secure the wig cap and apply adhesive.
Align and press the wig onto the adhesive.
Blend and style the wig for a natural look.
Maintain the wig with daily care, proper washing, and storage.
-
Benefits:
Achieve a natural appearance.
Ensure a secure fit.
Enjoy easy maintenance.
-
Encouragement:
Try the installation process.
Share your experiences.
-
Explore More:
Discover other wig options from Luvmeforyou.


