


How to Install a 360 Lace Front Wig - Step by Step

Introducing the luxurious and versatile 360 lace front wig wet and wavy by Luvmeforyou! A 360 lace wig offers incredible benefits and versatility with its round design and natural hairline stitching, providing a realistic look. This wig covers the entire head, giving full coverage and hair volume. Whether you prefer high ponytails, halo braids, or chic buns, you can create various hairstyles with ease. The target audience includes anyone looking for a natural appearance and styling flexibility. This guide aims to help you install a 360 lace front wig wet and wavy, Luvmeforyou, with confidence. Additionally, explore our range of 360 lace front bob wigs for even more styling options.
Features of 360 Lace Frontal Wigs
Advantages
Time-Saving
A 360 lace wig saves you time during installation. You don't need to sew in individual wefts. The lace wraps around the entire perimeter of your head, making the process quicker. This design allows for a seamless and efficient application. You can achieve a natural look without spending hours.
Styling Flexibility
The 360 lace wig offers unmatched styling flexibility. You can part the hair anywhere on your head. High ponytails, halo braids, and chic buns become easy to create. The lace front provides a natural hairline, enhancing the overall appearance. You can switch up your style without limitations.
Natural Hairlines
A 360 lace wig provides a natural-looking hairline. The lace mimics the scalp, making it appear as if the hair grows directly from your head. This feature enhances the realism of your hairstyle. The wig blends seamlessly with your natural hair, offering a flawless finish.
Versatility
Different Hairstyles
With a 360 lace wig, you can explore various hairstyles. The wig's design allows for multiple parting options. You can wear elegant updos or casual ponytails. The versatility of the wig makes it suitable for any occasion. You can change your look effortlessly.
Ease of Maintenance
Maintaining a 360 lace wig is straightforward. The high-quality lace ensures durability and comfort. Regular washing and conditioning keep the wig looking fresh. You can use standard hair products without damaging the lace. The wig's construction allows for easy upkeep, ensuring long-lasting wear.
Materials Needed
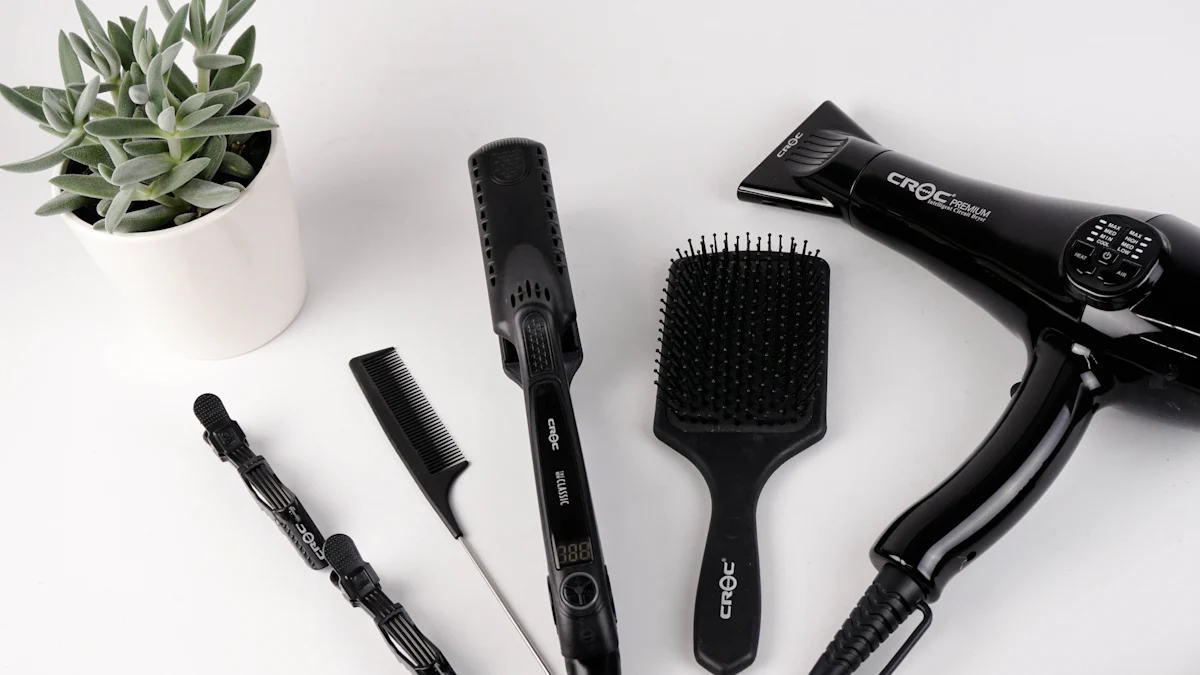
Before diving into the installation process, gather all necessary materials. Having everything ready will make the process smoother and more efficient.
Required Tools
Wig Cap
A wig cap is essential for a secure fit. The cap helps flatten your natural hair and provides a smooth surface for the wig. Choose a cap that matches your skin tone for a natural look.
Scissors
Scissors are crucial for trimming the lace. Use sharp scissors to cut the lace precisely. Dull scissors can create jagged edges, making the wig look less natural.
Glue or Adhesive
Adhesive is vital for securing the wig. Opt for a high-quality adhesive designed for lace wigs. This ensures a strong hold and reduces the risk of the wig shifting.
Needle and Thread
A needle and thread provide extra security. Sewing down the wig adds an additional layer of stability. Use a thread color that matches the wig for a seamless appearance.
Additional Items
Comb
A comb helps in styling and detangling the wig. Use a wide-tooth comb to avoid damaging the lace. A fine-tooth comb works well for blending the wig with your natural hair.
Hair Clips
Hair clips keep sections of the wig out of the way during installation. These clips make it easier to work on specific areas without interference.
Hair Gel or Spray
Hair gel or spray helps in styling the wig. Use these products to tame flyaways and achieve a polished look. Choose a non-greasy formula to maintain the wig's natural texture.
Preparing to Install
Washing and Conditioning Natural Hair
Recommended Products
Start by choosing the right products for washing and conditioning your natural hair. Look for sulfate-free shampoos and conditioners. These products help maintain the health of your hair without stripping away natural oils. Brands like SheaMoisture and OGX offer excellent options. A deep conditioner can also provide extra moisture and strength.
Steps to Follow
Wet Your Hair: Use lukewarm water to wet your hair thoroughly.
Apply Shampoo: Massage the shampoo into your scalp and hair. Focus on the roots and work your way down.
Rinse: Rinse out the shampoo completely.
Condition: Apply the conditioner from mid-length to the ends of your hair. Leave it in for a few minutes.
Rinse Again: Rinse out the conditioner with cool water to seal the cuticles.
Deep Condition: Use a deep conditioner once a week for added moisture.
Braiding Natural Hair
Techniques
Braiding your natural hair creates a flat base for the wig. Cornrows are a popular choice. Start by parting your hair into sections. Use a comb to create even parts. Begin braiding close to the scalp, moving downwards. Secure the ends with small rubber bands. Make sure the braids are tight but not too tight to avoid discomfort.
Tips for Secure Braids
Keep It Tight: Ensure the braids are tight enough to lay flat but not so tight that they cause pain.
Use Moisturizer: Apply a light moisturizer to keep your hair hydrated.
Secure Loose Ends: Use small rubber bands to secure the ends of each braid.
Check for Comfort: Make sure the braids feel comfortable and secure. Adjust if necessary.
Step-by-Step Installation Guide
Wearing a Wig Cap
Choosing the Right Cap
Choosing the right wig cap ensures your natural hair stays protected. Look for a cap that matches your skin tone. This helps create a seamless look under the lace front wig. A breathable cap keeps your scalp comfortable throughout the day.
Securing the Cap
Securing the wig cap is crucial for a stable base. Begin with braided-down hair to keep your natural hair flat. Place the cap over your head, ensuring it covers all your hair. Tuck in any loose strands to avoid bumps. Use clips to hold the cap in place temporarily. Press down gently to secure the cap firmly.
Putting On the Wig
Positioning the Wig
Positioning the wig correctly opens the window to a natural look. Start by turning the wig inside out. Align the frontal lace with your hairline. Place the wig on your head, starting from the center and working outwards. Ensure the lace front sits evenly around your hairline.
Adjusting for Comfort
Adjustments are necessary for a comfortable fit. Tug the wig gently to ensure it covers your entire scalp. Use the adjustable straps inside the wig to tighten or loosen it. Make sure the wig feels snug but not too tight. Check the mirror to confirm the wig looks natural and sits comfortably.
Cutting the Lace
Tools Needed
To cut the lace, gather sharp scissors and a fine-tooth comb. These tools help achieve a precise cut. Dull scissors can create jagged edges, making the lace look unnatural.
Techniques for a Natural Hairline
Follow these simple steps to cut the lace for a natural hairline. First, put the wig on and mark where you want to cut. Remove the wig and place it on a mannequin head. Cut the lace slowly and carefully along the marked line. Use small, controlled snips to avoid mistakes. Reposition the wig on your head to check the fit. Make any final adjustments to ensure the lace blends seamlessly with your hairline.
Gluing and Sewing Down the Wig
Applying Glue
Applying adhesive ensures your wig stays in place. Start by applying a thin layer of glue along your hairline. Use a small brush or applicator for precision. Wait a few minutes until the glue becomes tacky. Press the lace front onto the glue, starting from the center and working outwards. Hold the lace in place for a few seconds to secure it.
Securing with Stitches
Sewing down the wig adds extra security. Use a needle and thread that matches the color of your wig. Begin at one side of your head and sew along the perimeter of the lace. Make small, tight stitches to ensure a firm hold. Continue sewing until you reach the other side. This step helps keep the wig in place for longer periods.
Ensuring a Natural Look
To achieve a natural look, blend the lace with your skin. Use a fine-tooth comb to press the lace into your hairline. Apply a bit of foundation or powder that matches your skin tone to the lace. This will help the lace blend seamlessly with your scalp. Check the mirror to ensure the lace looks natural and undetectable.
Styling the Wig
Customizing the Style
Customizing your wig allows you to express your personal style. Use a wide-tooth comb to detangle the hair gently. Decide on the hairstyle you want to achieve. High ponytails, halo braids, and chic buns are popular choices. Use hair clips to section off parts of the wig as you style. This makes the process easier and more manageable.
Using Hair Products
Using the right hair products enhances the look of your wig. Opt for non-greasy hair gel or spray to tame flyaways. Apply a small amount to your hands and smooth it over the hair. Avoid using heavy products that can weigh down the wig. For added shine, use a light serum. Always choose products designed for wigs to maintain the quality of the lace and hair.
Maintaining Your 360 Lace Front Wig
Daily Care
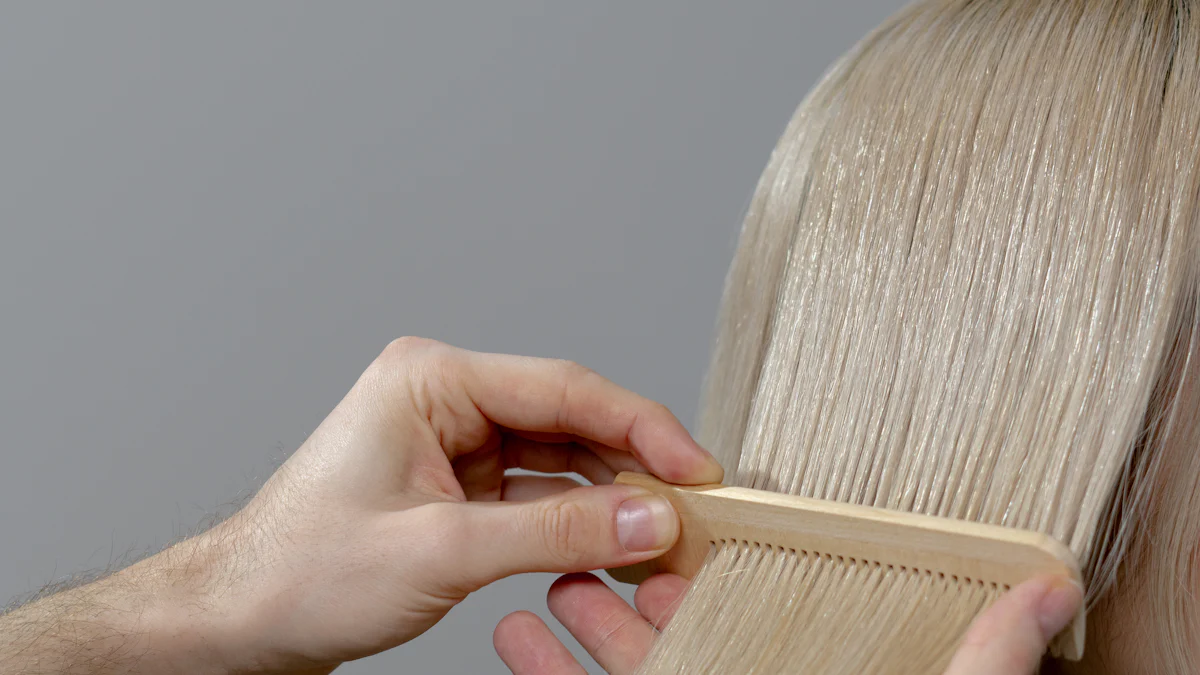
Brushing and Detangling
Daily care keeps your wig looking fresh. Start by brushing the wig gently. Use a wide-tooth comb to avoid damaging the lace. Begin at the ends and work your way up. This method prevents tangles and keeps the hair smooth. Regular brushing helps maintain the wig's natural appearance.
Using the Right Products
Choosing the right products is crucial. Opt for sulfate-free shampoos and conditioners. These products protect the wig's color and texture. Avoid heavy oils and greasy products. Light serums and sprays work best. Always check the product label to ensure compatibility with wigs. Proper product use extends the life of your wig.
Long-Term Maintenance
Washing and Conditioning
Regular washing and conditioning are essential. Fill a basin with lukewarm water. Add a small amount of sulfate-free shampoo. Gently swish the wig in the water. Rinse thoroughly with cool water. Apply a light conditioner and let it sit for a few minutes. Rinse again and pat dry with a towel. Avoid wringing or twisting the hair. Let the wig air dry on a mannequin head.
Storing the Wig
Proper storage keeps your wig in top shape. Use a mannequin head or wig stand. This helps maintain the wig's form. Store the wig in a cool, dry place. Avoid direct sunlight and heat sources. Cover the wig with a silk or satin scarf to protect it from dust. Proper storage ensures your wig stays ready for the next wear.
Want to learn more about how to take care of your wig? Read our posts on What You Need to Think About BEFORE You Buy a Wig Cap and How to Make a Wig Look Real.
If the installation process seems challenging, consider purchasing a 360 lace front wig from Luvmeforyou. The right tools and techniques make a difference. Proper maintenance extends the life of your wig. Use sulfate-free shampoos and conditioners. A leave-in conditioner keeps the hair soft and manageable. Lightweight oil or serum adds shine and reduces frizz. Avoid heavy products that weigh down the hair. Daily care and long-term maintenance ensure a natural look. For any questions, feel free to reach out via email. Happy styling!


