


Luvmeforyou Tutorial: How To Make A Wig With Closure
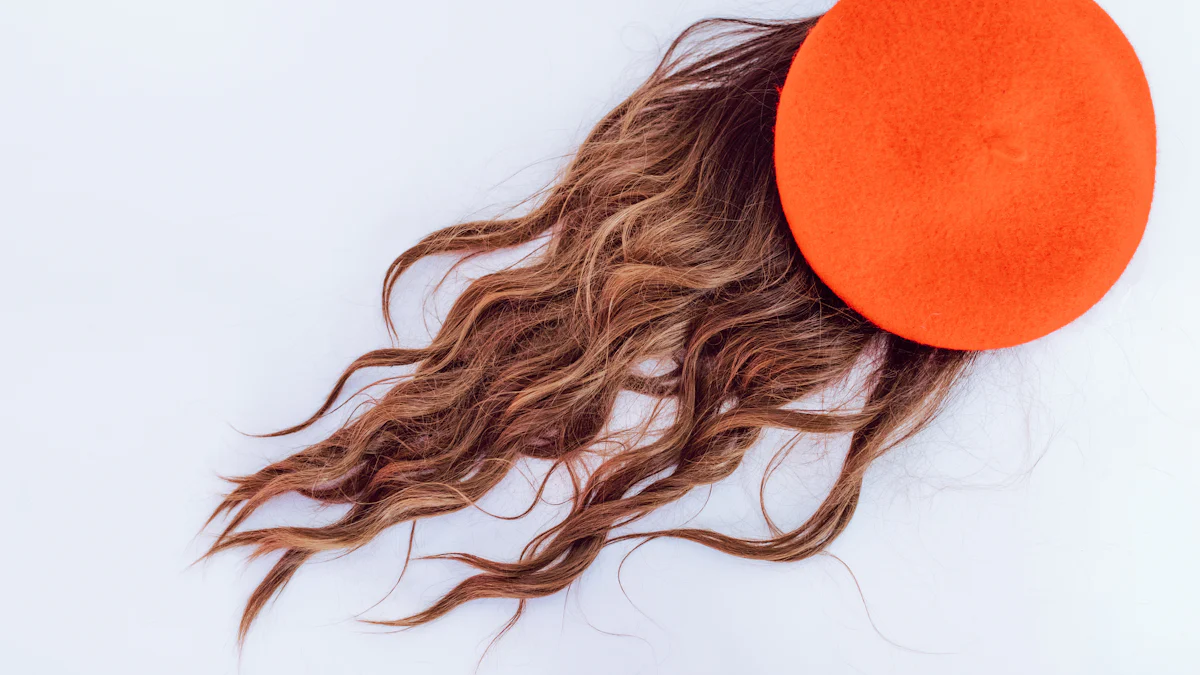
Creating a wig with a closure offers a rewarding experience. Luvmeforyou provides the perfect guide for beginners and enthusiasts alike. Crafting a closure wig allows for customization and cost savings. The process involves essential tools and techniques that ensure a natural look. This tutorial aims to educate readers on how to make a wig with closure, focusing on achieving a seamless finish. A ginger closure wig can add a unique touch to your style.
Materials and Tools Needed

Essential Materials
Wig Cap
A wig cap forms the base for the wig. It provides structure and support. Choose a cap that fits comfortably.
Closure Piece
A closure piece covers the top of the wig. It ensures a natural-looking scalp. Select a closure that matches your hair texture.
Hair Bundles
Hair bundles add volume and length. Use high-quality bundles for a realistic appearance. The number of bundles depends on the desired fullness.
Needle and Thread
A needle and thread secure the hair bundles to the wig cap. Opt for a curved needle for easier sewing. Use strong thread to ensure durability.
Wig Stand or Mannequin Head
A wig stand or mannequin head holds the wig in place. It allows for easy styling and construction. Ensure the stand is stable and at a comfortable height.
Additional Tools
Scissors
Scissors trim excess lace and hair. Use sharp scissors for clean cuts. Precision is key for a polished look.
Hair Clips
Hair clips hold sections of hair out of the way. They keep the work area organized. Use clips to manage hair bundles during sewing.
Measuring Tape
A measuring tape ensures accurate measurements. Measure the wig cap and closure piece. Proper measurements lead to a better fit.
Tweezers
Tweezers pluck hairs from the closure. They help create a natural hairline. Use tweezers to remove excess hair gently.
Hair Glue (Optional)
Hair glue secures the closure piece. It provides extra hold. Use glue sparingly to avoid buildup.
By gathering these materials and tools, you will be well-prepared to start making your wig with closure.
Preparing the Wig Cap
Choosing the Right Wig Cap
Types of Wig Caps
Different types of wig caps exist. Each type serves a unique purpose. The most common types include:
Nylon Wig Caps: These caps are lightweight and breathable. They provide a snug fit.
Mesh Wig Caps: Mesh caps offer better ventilation. They are ideal for hot climates.
Dome Caps: Dome caps are thicker and more durable. They provide a secure base for heavy hair bundles.
Wig Caps with Combs: These caps have built-in combs. The combs help keep the cap in place.
How to Select the Best Fit
Selecting the best fit is crucial. A well-fitted cap ensures comfort and stability. Follow these steps to choose the right fit:
Measure Your Head: Use a measuring tape. Measure around your head where the cap will sit.
Check the Size Chart: Refer to the size chart provided by the manufacturer. Match your measurements to the chart.
Try Different Types: Experiment with different types of caps. Find the one that feels most comfortable.
Consider Your Hair Type: Choose a cap that suits your hair type. For example, use a mesh cap for thick hair.
Securing the Wig Cap on the Mannequin Head
Positioning the Cap
Proper positioning is essential. Follow these steps to position the cap correctly:
Place the Cap on the Mannequin Head: Ensure the cap sits evenly.
Align the Front: Align the front edge of the cap with the mannequin's forehead.
Smooth Out Wrinkles: Smooth out any wrinkles or folds. The cap should lie flat.
Pinning it in Place
Pinning the cap ensures it stays secure. Follow these steps to pin the cap in place:
Use T-Pins: Use T-pins to secure the cap. Insert the pins along the edges.
Start at the Front: Begin pinning at the front. Work your way around the cap.
Check for Stability: Ensure the cap is stable. Adjust the pins if necessary.
By following these steps, you will prepare the wig cap properly. This preparation sets the foundation for a successful wig-making process.
How to Make a Wig with Closure
Positioning the Closure
Aligning the closure with the wig cap
Align the closure piece with the wig cap. Place the closure at the front center of the cap. Ensure that the edges of the closure match the edges of the cap. This alignment creates a balanced look.
Ensuring a natural hairline
A natural hairline enhances the wig's appearance. Position the closure slightly forward on the cap. This positioning mimics a natural hairline. Use tweezers to pluck hairs along the edge of the closure. Plucking creates a more realistic hairline.
Sewing the Closure
Starting from the front
Begin sewing the closure at the front. Use a curved needle and strong thread. Insert the needle through the lace and the cap. Pull the thread tight to secure the closure. Continue sewing along the front edge.
Securing the edges
Secure the edges of the closure next. Sew along the sides and back of the closure. Ensure that the stitches are tight and even. This step prevents the closure from shifting. A well-secured closure provides a stable base for the wig.
Measuring and Cutting the Wefts
Measuring the wefts to fit the cap
Measure the wefts to fit the wig cap. Lay the wefts across the cap from ear to ear. Use a measuring tape for accuracy. Mark the wefts where they need to be cut. Proper measurements ensure a snug fit.
Cutting the wefts to size
Cut the wefts to the marked length. Use sharp scissors for clean cuts. Cut each weft carefully to avoid fraying. Properly cut wefts make the sewing process easier.
Sewing the Wefts onto the Cap
Starting from the back
Start sewing the wefts at the back of the wig cap. Place the first weft at the nape of the neck. Use a curved needle and strong thread for this task. Insert the needle through the weft and the cap. Pull the thread tight to secure the weft. Continue sewing along the entire length of the weft. Ensure that each stitch is tight and even. This method provides a stable base for the wig.
Working your way up
Move upward after securing the first weft. Place the next weft above the first one. Leave a small gap between the wefts for a natural look. Sew the second weft in the same manner as the first. Continue this process until you reach the top of the cap. Each new weft should overlap slightly with the previous one. This technique ensures full coverage and a seamless appearance.
Ensuring even distribution
Distribute the wefts evenly across the wig cap. Measure the gaps between the wefts to maintain consistency. Use hair clips to hold the wefts in place while sewing. Check the wig frequently to ensure an even distribution of hair. Adjust the placement of the wefts if necessary. This step prevents any areas from looking too sparse or too bulky.
Professional Tip: According to professional wig makers at Luvmeforyou, meticulous hand-tying techniques and fine quality lace materials contribute to a natural-looking hairline and scalp appearance. Proper installation enhances durability and comfort.
By following these steps, you will achieve a well-constructed wig with a natural look. The even distribution of wefts ensures a balanced and realistic appearance.
Final Adjustments and Styling
Trimming Excess Lace
Using Scissors for Precision
Use sharp scissors to trim the excess lace from the closure. Hold the wig steady on the mannequin head. Carefully cut along the hairline of the closure. Make small, precise cuts to avoid damaging the lace. Trim slowly to ensure accuracy.
Blending the Lace with Your Skin
Blend the lace with your skin for a natural look. Apply foundation or concealer that matches your skin tone. Dab the product onto the lace using a makeup sponge. Blend the edges of the lace into your skin. This step helps the lace disappear, creating a seamless appearance.
Styling the Wig
Curling or Straightening
Style the wig to match your desired look. Use a curling iron or flat iron to shape the hair. Set the tool to a medium heat setting. Curl or straighten small sections of hair at a time. Avoid using high heat to prevent damage. Allow the hair to cool before touching it.
Adding Baby Hairs
Create baby hairs for a realistic finish. Use a small comb to section off thin strands of hair along the hairline. Trim these strands to a shorter length. Use a toothbrush and styling gel to lay the baby hairs flat. Shape the baby hairs into soft curves for a natural effect.
Professional Tip: According to professional wig makers, adding baby hairs enhances the natural look of the wig. Proper styling techniques contribute to a polished and realistic appearance.
By following these steps, you will achieve a well-styled wig with a natural look. The final adjustments ensure that the wig blends seamlessly with your scalp. Enjoy the satisfaction of wearing a custom-made wig that reflects your unique style.
Creating a wig with a closure involves several key steps. First, gather all necessary materials and tools. Next, prepare the wig cap by choosing the right type and securing it on a mannequin head. Then, position and sew the closure, followed by measuring, cutting, and sewing the wefts onto the cap. Finally, make adjustments and style the wig to achieve a natural look.
I encourage you to try making your own wig. The process can be both rewarding and cost-effective. For further learning, explore additional resources and tutorials available online.
Remember, practice makes perfect. Enjoy the creative journey of crafting your custom wig!


