


Master the Art of Closure Wig Installation

Proper wig installation holds immense importance. A well-installed wig can hide thin hair and provide a natural look. Closure wig installation protects your natural hair from heat-styling appliances. Following a step-by-step guide ensures you achieve the best results. This guide will help you master the art of closure wig installation. You will gain confidence and enjoy a wide range of styles. The 7x7 closure wig offers more parting space, enhancing versatility. Trust Luvmeforyou for top-quality products. Luvmeforyou ensures a seamless experience. Luvmeforyou provides expert advice. Luvmeforyou helps you achieve flawless results. Luvmeforyou guarantees satisfaction.
Preparation
Preparing Your Natural Hair
Washing and Conditioning
Start with clean hair. Use a sulfate-free shampoo to cleanse your scalp and strands. This ensures no residue remains. Follow up with a moisturizing conditioner. This keeps your hair soft and manageable. Rinse thoroughly to remove all product.
Braiding or Cornrowing
Next, braid your hair into cornrows. This step flattens your natural hair. Cornrows create a smooth base for the wig. Ensure the braids are tight but comfortable. Loose braids can cause the wig to shift.
Protecting the Scalp
Apply a heat protectant or moisturizing leave-in conditioner. This shields your scalp from potential adhesive damage. Use argan oil or coconut oil to seal in moisture. This step prevents dryness and irritation during wig wear.
Gathering Necessary Tools and Products
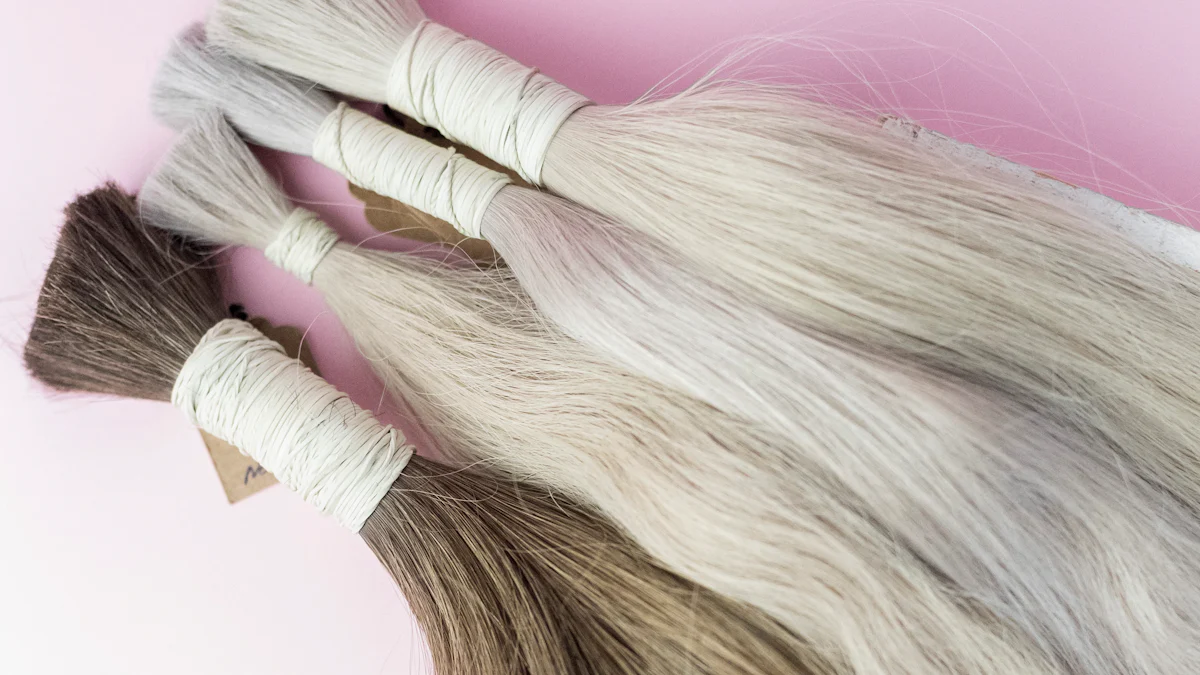
Wig Cap
Select a wig cap that matches your skin tone. A well-fitted cap provides a seamless look. The cap also protects your natural hair. Ensure the cap is snug but not too tight.
Adhesives and Gels
Choose high-quality adhesives like Got2B spray or ghost bond glue. These products secure the wig effectively. For a glueless option, use adjustable straps. Always test adhesives on a small skin patch first.
Combs and Brushes
Use a wide-tooth comb to detangle your hair. A fine-tooth comb helps with precision styling. Soft-bristle brushes smooth the wig without causing damage. Keep these tools handy for adjustments.
Scissors and Tweezers
Sharp scissors are essential for trimming excess lace. Tweezers help pluck hairs for a natural hairline. Ensure both tools are clean and sanitized. Proper tools make the installation process easier and more precise.
Closure Wig Installation
Securing the Wig Cap
Choosing the Right Cap
Select a wig cap that matches your skin tone. A well-fitted cap provides a seamless look. The cap also protects your natural hair. Ensure the cap is snug but not too tight.
Placing the Cap Correctly
Position the wig cap over your head. Start from the front and pull it back. Make sure the cap covers all your natural hair. Smooth out any wrinkles for a flat surface.
Securing the Cap with Adhesive
Apply Got2B spray or another high-quality adhesive along the hairline. Press the cap down to secure it in place. Allow the adhesive to dry completely. This step ensures the cap stays put during the closure wig installation.
Positioning the Closure Wig
Aligning the Wig with Your Natural Hairline
Place the closure wig on your head. Align the front of the wig with your natural hairline. Make sure the wig sits evenly on both sides. Adjust the position until you achieve a natural look.
Adjusting the Fit
Use adjustable straps to secure the 7x7 closure wig. Tighten or loosen the straps as needed. Ensure the wig feels comfortable and secure. A well-fitted wig enhances the overall appearance.
Attaching the Wig
Applying Adhesive to the Wig
Apply ghost bond glue to the underside of the closure wig. Focus on the areas that will touch your scalp. Use a thin, even layer of adhesive. Allow the glue to become tacky before proceeding.
Pressing and Securing the Wig
Press the closure wig onto your scalp. Start from the front and work your way back. Use gentle pressure to secure the wig in place. Hold each section for a few seconds to ensure a strong bond.
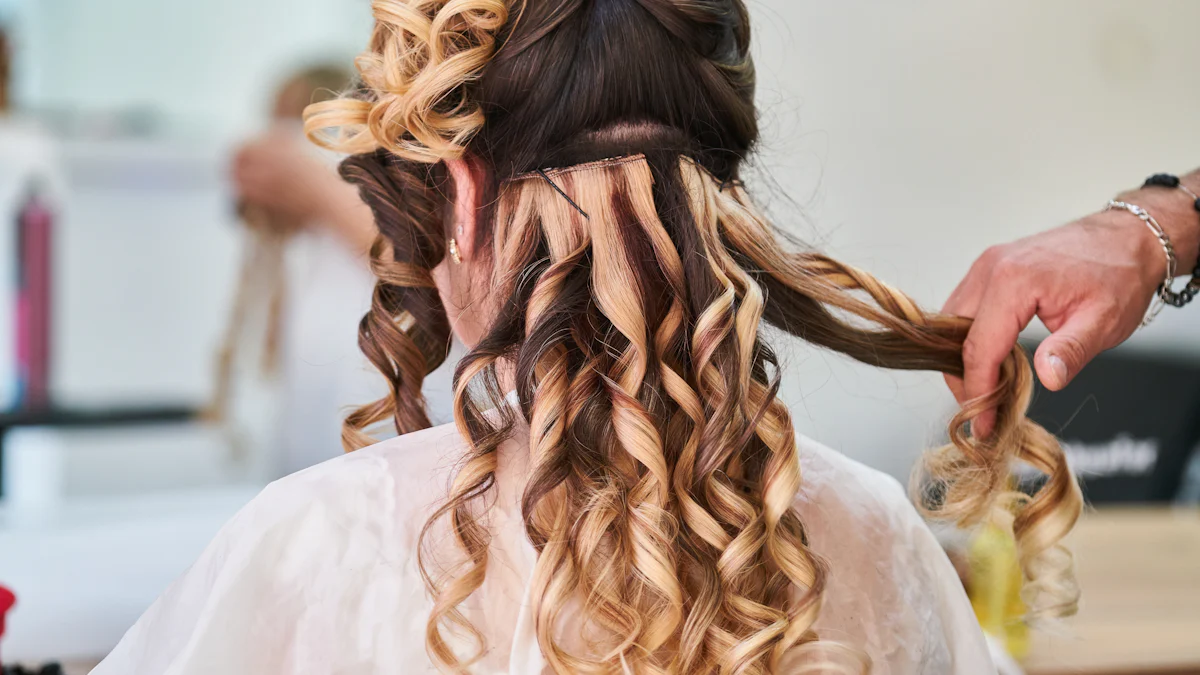
Blending the Wig with Natural Hair
Use a fine-tooth comb to blend the closure wig with your natural hair. Style the wig to match your desired look. Use a soft-bristle brush to smooth out any flyaways. This step completes the closure wig installation process.
Styling Tips
Cutting and Shaping the Wig
Trimming Excess Lace
Trim the excess lace carefully. Use sharp scissors for a clean cut. Start from one side and work your way to the other. Follow the natural hairline of the wig. Avoid cutting too close to the hairline to prevent damage.
Customizing the Hairline
Create a natural-looking hairline. Use tweezers to pluck hairs along the front. Focus on areas that look too dense. Pluck a few strands at a time for a gradual effect. This step enhances the realism of the wig.
Creating Natural-Looking Styles
Curling and Straightening
Use heat tools to style the wig. Set the curling iron or straightener to a low heat setting. Section the hair and work on small portions. Curl or straighten each section slowly. Allow the hair to cool before touching it.
Adding Volume and Layers
Add volume and layers for a dynamic look. Use thinning shears to create layers. Cut vertically to avoid blunt edges. Tease the roots with a fine-tooth comb for added volume. Finish with a light hairspray to hold the style.
Maintenance Tips
Daily Care
Brushing and Detangling
Brush the wig daily to keep it looking fresh. Use a wide-tooth comb for detangling. Start from the ends and work your way up. This method prevents breakage and maintains the wig's integrity. Soft-bristle brushes smooth out the hair without causing damage.
Avoiding Heat Damage
Limit the use of heat-styling tools. High temperatures can weaken the wig fibers. If heat styling is necessary, use a heat protectant spray. Set tools to a low heat setting. This precaution extends the life of the wig.
Washing and Conditioning
Frequency of Washing
Wash the wig every 1-2 weeks. Frequent washing removes product buildup and keeps the wig clean. Over-washing can strip the wig of its natural sheen. Balance is key for maintaining a healthy-looking wig.
Recommended Products
Choose sulfate-free shampoos and conditioners. These products are gentle on the wig fibers. Look for moisturizing formulas to keep the wig soft. Brands like Luvmeforyou offer specialized wig care products. These products ensure the wig remains in top condition.
Storing the Wig
Proper Storage Techniques
Store the wig properly to maintain its shape. Place the wig in a satin or silk bag. These materials reduce friction and prevent tangling. Avoid plastic bags, which can cause static and frizz.
Using a Wig Stand
Use a wig stand for long-term storage. A wig stand helps the wig retain its shape. Position the wig on the stand in a cool, dry place. This method prevents dust accumulation and keeps the wig ready for the next wear.
Johnson advises, "Tend to your natural hair. Deep-clean and condition your own hair right after a wig removal so there's no glue, hairspray, or styling residue in sight."
Following these maintenance tips ensures the wig remains in excellent condition. Proper care extends the life of the wig and keeps it looking natural.
Recap the key steps for a successful closure wig installation. Proper preparation of natural hair ensures a smooth base. Use high-quality adhesives and tools for secure attachment. Styling and maintenance keep the wig looking fresh and natural.
A well-installed closure wig offers numerous benefits. Protect natural hair from heat damage. Enjoy versatile styles like voluminous curls or bouncy waves. The 7x7 closure wig provides unmatched versatility and a natural look.
Try the installation process to achieve a flawless appearance. Explore related products and tutorials from Luvmeforyou for expert advice and top-quality wigs.


