Step-by-Step Guide to Deep Side Part U-Part Wig

Achieve a chic and elegant look with a deep side part, a popular choice in wig styling. The Luvmeforyou HD Super Thin Lace Wig is the perfect solution for this style. Its U-Part design allows for seamless blending with your natural hair, providing a natural appearance. The deep side part U-Part wig offers versatility and ease of styling, making it a favorite among wig enthusiasts. The dark brown U-Part wig from Luvmeforyou enhances the overall aesthetic, ensuring a polished and sophisticated finish.
Materials Needed
Tools
Wig stand or mannequin head
A wig stand or mannequin head provides a stable base for styling. This tool ensures the wig stays in place during the process.
Rat-tail comb
A rat-tail comb is essential for creating precise parting lines. The pointed end helps in sectioning the hair accurately.
Hair clips
Hair clips hold sections of the wig in place. These clips prevent interference while working on specific areas.
Flat iron or curling iron
A flat iron or curling iron styles the wig to achieve the desired look. These tools help in creating smooth, sleek finishes or adding curls and waves.
Products
Heat protectant spray
Heat protectant spray shields the wig from damage caused by styling tools. This product maintains the integrity of the wig fibers.
Wig cap
A wig cap secures natural hair under the wig. This cap ensures a smooth and even surface for the wig to sit on.
Edge control gel
Edge control gel tames flyaways and smooths edges. This gel provides a polished and neat appearance.
Hair spray
Hair spray sets the style and keeps it in place. This product ensures long-lasting hold and finish.
Preparing the Wig

Securing the Wig
Place the wig on the stand or mannequin head.
Position the wig on a stable base, such as a wig stand or mannequin head. This setup provides a secure foundation for styling.
Secure it with pins or clips to prevent movement.
Use pins or clips to hold the wig in place. This step ensures the wig remains stationary during the styling process.
Prepping the Hair
Apply heat protectant spray to the wig.
Spray a heat protectant evenly over the wig. This product shields the wig fibers from potential damage caused by styling tools.
Use a flat iron or curling iron to style the wig as desired.
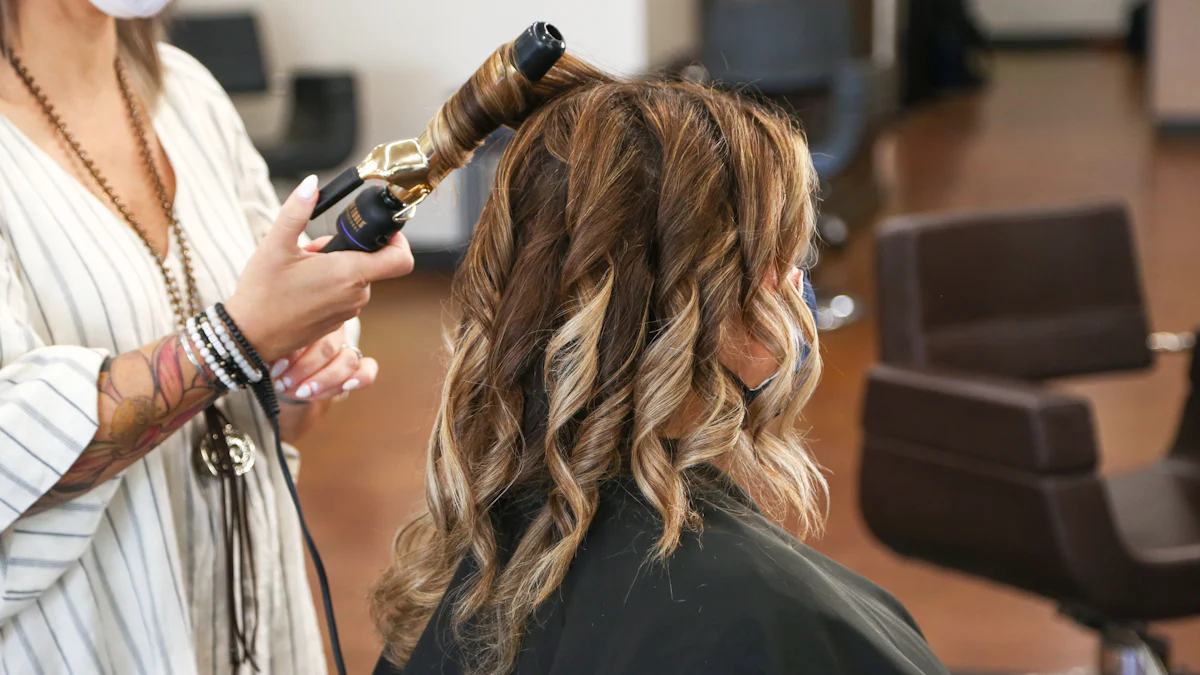
Utilize a flat iron or curling iron to achieve the preferred look. These tools help create smooth finishes or add curls and waves, enhancing the overall appearance of the wig.
Expert Tip from Johnson: "Whether you’re new to wigs or have been wearing them for years, these expert tips and tricks for setting up a perfect install should help make sure everything looks seamless and stays put no matter what life throws at you!"
Properly securing and prepping the wig lays the foundation for a flawless deep side part. Following these steps ensures the wig maintains its integrity and style throughout wear.
Creating the Deep Side Part
Finding the Parting Line
Use a rat-tail comb to find the desired parting line.
A rat-tail comb helps in locating the precise parting line for the deep side part U-Part wig. Position the pointed end of the comb at the front hairline and glide it back to create a straight line. This technique ensures an accurate parting line, essential for achieving a polished look.
Create a deep side part by sectioning off a larger portion of hair to one side.
Section off a larger portion of hair to one side to form the deep side part. This method adds volume and frames the face elegantly. Ensure the sectioned hair remains smooth and tangle-free for a seamless appearance.
Securing the Part
Use hair clips to hold the part in place.
Secure the sectioned hair with hair clips. This step prevents the hair from shifting during the styling process. Hair clips provide stability, ensuring the deep side part U-Part wig maintains its structure.
Apply edge control gel to smooth down any flyaways.
Apply edge control gel to tame flyaways and smooth the edges. This product creates a sleek and refined finish. Use a small brush or your fingers to distribute the gel evenly along the hairline.
Expert Tip from Hairstylists: "Mastering the deep side part can make a significant difference in appearance. Techniques and practice are key to confidently rock this hairstyle."
Achieving a flawless deep side part requires precision and attention to detail. Following these steps ensures the deep side part U-Part wig looks natural and stays in place throughout wear.
Blending Natural Hair

Preparing Natural Hair
Braid or twist natural hair to fit under the wig cap.
Create small braids or twists with natural hair. This method ensures a flat surface for the wig cap. Small sections help achieve a smooth base.
Place the wig cap over the natural hair.
Position the wig cap securely over braided or twisted hair. Ensure the cap covers all natural hair. This step provides a seamless foundation for the U part wig.
Blending with the Wig
Pull out a small section of natural hair through the U-Part opening.
Gently pull a small section of natural hair through the U-Part opening. This technique allows natural hair to blend with the wig. Ensure the section aligns with the parting line.
Blend the natural hair with the wig using a flat iron or curling iron.
Use a flat iron or curling iron to blend natural hair with the wig. This step creates a cohesive look. Smooth or curl the hair to match the wig's texture.
Professional Insight: "Blending natural hair with a U part wig enhances realism. High-quality human hair wigs ensure a convincing appearance."
Proper blending techniques ensure a natural and seamless look. The dark brown U part wig from Luvmeforyou offers versatility and ease of styling. Achieve a polished finish by following these steps.
Finishing Touches
Securing the Style
Use hair spray to set the style.
Apply hair spray generously to the styled wig. This step ensures the hairstyle remains intact throughout the day. Hair spray provides a strong hold and prevents any unwanted movement.
Adjust the wig and natural hair for a seamless look.
Carefully adjust the wig and natural hair to achieve a cohesive appearance. Ensure the wig aligns perfectly with the natural hairline. Smooth out any visible transitions between the wig and natural hair.
Final Adjustments
Check for any loose strands or uneven sections.
Inspect the entire wig for any loose strands or uneven sections. Use a mirror to examine all angles. Address any discrepancies immediately to maintain a polished look.
Make any necessary adjustments to ensure a natural appearance.
Perform any final tweaks to enhance the natural appearance of the wig. Trim any stray hairs or use edge control gel for additional smoothing. Ensure the overall look exudes professionalism and elegance.
Professional Insight: "Attention to detail in the final stages can elevate the overall look. A well-secured and adjusted wig not only looks natural but also boosts confidence."
Completing these finishing touches guarantees a flawless and enduring deep side part U-Part wig style. The Luvmeforyou HD Super Thin Lace Wig offers the perfect foundation for achieving a sophisticated and seamless look.
Creating a deep side part on a U-Part wig involves several precise steps. Start by securing and prepping the wig, then create the parting line and blend natural hair for a seamless look. Experiment with different styles to find the perfect fit. Practice will enhance skills and lead to better results. The Luvmeforyou HD Super Thin Lace Wig offers versatility and ease of styling. Mastering these techniques will ensure a polished and sophisticated appearance.


