


Step-by-Step Guide to Installing a 360 Lace Wig from Luvmeforyou

Dear Queen, ever wondered how to achieve flawless and versatile hairstyles effortlessly? The 360 lace wig from Luvmeforyou offers endless possibilities. This wig type provides a seamless blend with natural hair, ensuring a natural look. You can style it in various ways, including high buns and updos. The 360 lace frontal wig styles offer ultimate coverage and flexibility. The Guide will show you how to put on a 360 lace wig, Luvmeforyou style, making the process simple and enjoyable.
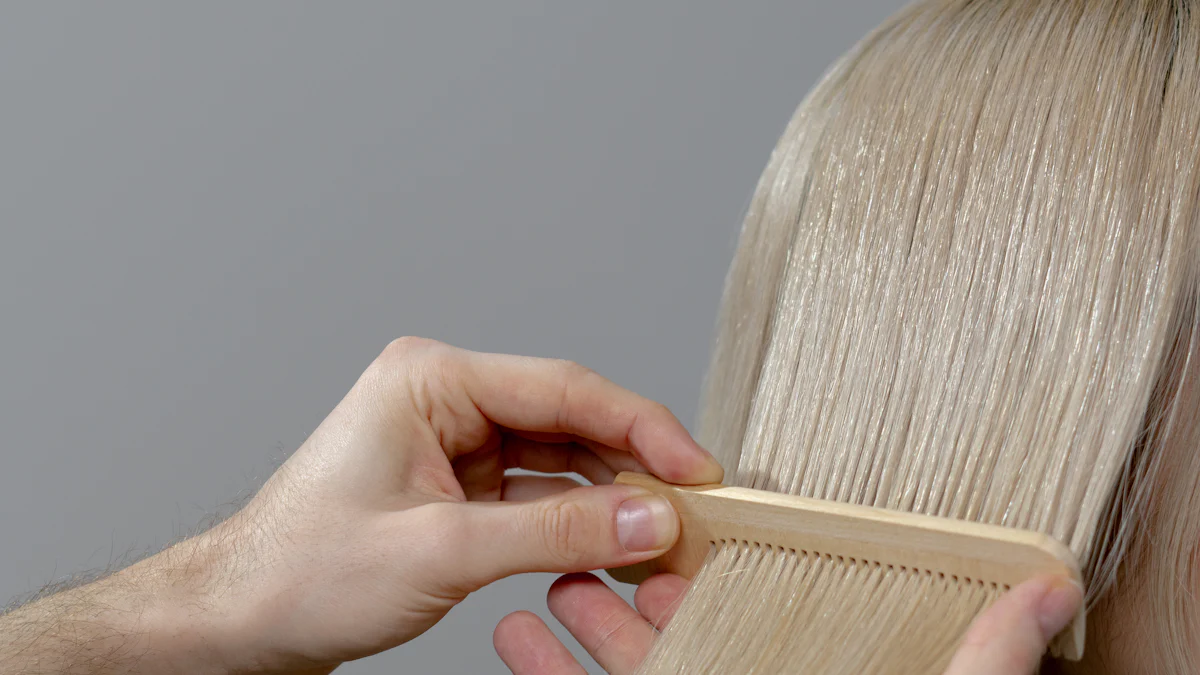
Preparation
Preparing Your Natural Hair
Braiding Down Your Hair
Start by ensuring your natural hair lies flat. Use a comb to create neat sections. Braid each section tightly. This step helps the wig sit smoothly on your head. Tight braids also prevent bumps and lumps under the wig.
Ensuring a Flat Surface
A flat surface is crucial for a natural look. Press down the braids against your scalp. Use bobby pins to secure any loose ends. A smooth base makes the wig look more realistic and comfortable.
Applying the Wig Cap
Choosing the Right Wig Cap
Select a wig cap that matches your skin tone. A good match helps the wig blend seamlessly. Wig caps come in various colors. Choose one that closely resembles your scalp color.
Securing the Cap with Extreme Hold Spray
Place the wig cap over your braided hair. Make sure it covers all your hair. Use an extreme hold spray to secure the cap. Spray along the hairline and let it dry. This step ensures the cap stays in place and provides a stable base for the wig.
Securing the Wig Cap

Cutting the Wig Cap
Cutting in Sections
Cut the wig cap into sections. Use sharp scissors for clean cuts. Start from the forehead and move towards the ears. Make sure each section fits snugly.
Ensuring a Snug Fit
Ensure the wig cap fits snugly on your head. Adjust the sections if needed. A snug fit prevents the cap from moving. This step helps the wig look natural.
Sewing Down the Wig Cap
Using a Needle and Thread
Use a needle and thread to sew down the wig cap. Start from the back of your head. Sew along the edges of the cap. Make small, tight stitches. This method secures the cap firmly.
Ensuring Stability
Ensure stability by sewing all around the cap. Double-check the stitches. Make sure the cap feels secure. This step provides a stable base for the wig.
Blending the Wig Cap
Applying Flesh-Toned Powder
Choosing the Right Shade
Pick a flesh-toned powder that matches your skin tone. The right shade helps the lace blend seamlessly with your scalp. Test a few shades on your wrist to find the best match. A good match makes the lace wig look more natural.
Blending Techniques
Use a makeup brush to apply the powder. Dab the brush into the powder and tap off any excess. Gently brush the powder over the lace cap. Focus on areas where the lace meets your skin. Blend until the lace becomes invisible. This step ensures a flawless finish for your lace wig.
Preparing the Lace Frontal
Cutting the Lace
Using Scissors for Precision
Grab a pair of sharp scissors. Precision matters when cutting the lace. Dull scissors can cause jagged edges. Hold the lace frontal against your forehead. Carefully trim along the hairline. Small, controlled cuts work best. Avoid cutting too much at once. This step ensures a clean and natural look.
Ensuring a Natural Hairline
Creating a natural hairline takes patience. Trim the lace close to the hairline. Leave a small amount of lace to blend with your skin. Watch how the lace sits on your forehead. Adjust as needed for a seamless look. Some beginners find this step challenging. Consider watching a tutorial for guidance. Practice makes perfect. A well-trimmed lace frontal enhances the overall appearance.
Installing the Lace Frontal
Sewing Down the Lace
Starting from the Back
Begin by positioning the lace frontal on your head. Ensure the lace aligns with your natural hairline. Use a needle and thread to start sewing from the back. Make small, tight stitches for stability. Move from the back towards the front. This method secures the lace firmly.
Securing the Sides
After securing the back, focus on the sides. Pull the lace taut to avoid any wrinkles. Sew along the edges of the lace. Make sure the stitches are close together. This step ensures the lace stays in place. Check for any loose areas and adjust as needed.
Securing with Gel or Glue
Choosing the Right Product
Select a product that suits your skin type. Some people prefer gel, while others opt for glue. Test a small amount on your wrist to check for any reactions. Popular brands offer products specifically for lace wigs. Choose one that provides a strong hold.
Application Techniques
Apply a thin layer of gel or glue along your hairline. Use a brush for even distribution. Press the lace into the adhesive gently. Hold it in place for a few seconds to ensure a secure bond. Repeat this process for the entire hairline. Allow the adhesive to dry completely before styling.
Installing and Styling Bundles
Attaching the Bundles
Sewing Techniques
Start by threading a needle with strong thread. Position the first bundle at the back of your head. Sew the bundle onto the wig cap using small, tight stitches. Make sure each stitch goes through both the bundle and the cap. Move in a straight line to keep the bundles even. This method helps secure the bundles firmly.
Ensuring Even Distribution
Distribute the bundles evenly to avoid a bulky look. Place each bundle close to the previous one. Check the spacing as you sew. Adjust if needed to maintain an even distribution. This step ensures the wig looks full and natural.
Styling the Wig
Curling or Straightening
Choose whether to curl or straighten the wig. Use a curling iron for soft waves or curls. For a sleek look, use a flat iron. Always apply a heat protectant spray before styling. This protects the hair from damage. Style in small sections for the best results. Take your time to achieve the desired look.
Final Touches
Finish by checking the overall appearance. Tweak any areas that need adjustment. Use a light hairspray to hold the style in place. Add accessories like headbands or clips for extra flair. Share your new look on social media. Encourage friends to comment on your stunning transformation. Enjoy the beauty of your perfectly styled wig.
Luvme Hair
How to Put on a 360 Lace Wig, Luvmeforyou
Step-by-Step Instructions
Ready to transform your look with a 360 lace wig from Luvme? Follow these simple steps for a flawless installation.
-
Prepare Your Natural Hair: Start by braiding your hair down flat. Secure any loose ends with bobby pins. This creates a smooth base for the wig.
-
Apply the Wig Cap: Choose a wig cap that matches your skin tone. Place it over your braided hair and use an extreme hold spray to secure it.
-
Cut the Wig Cap: Use sharp scissors to cut the wig cap into sections. Ensure each section fits snugly on your head.
-
Sew Down the Wig Cap: Use a needle and thread to sew the wig cap securely. Start from the back and make small, tight stitches.
-
Blend the Wig Cap: Apply flesh-toned powder to the wig cap. Use a makeup brush to blend the powder until the cap becomes invisible.
-
Cut the Lace: Trim the lace of the frontal with sharp scissors. Make small, precise cuts to ensure a natural hairline.
-
Sew Down the Lace: Position the lace frontal on your head. Start sewing from the back and move towards the front. Secure the sides tightly.
-
Secure with Gel or Glue: Apply a thin layer of gel or glue along your hairline. Press the lace into the adhesive and hold it in place.
-
Attach the Bundles: Sew the bundles onto the wig cap. Ensure even distribution to avoid a bulky look.
-
Style the Wig: Curl or straighten the wig as desired. Use a heat protectant spray to prevent damage.
Tips for a Natural Look
Achieving a natural look with your Luvme wig involves a few extra steps.
-
Choose the Right Shade: Select a wig cap and flesh-toned powder that match your skin tone. This helps the wig blend seamlessly.
-
Trim Carefully: When cutting the lace, make small, controlled cuts. Avoid cutting too much at once to maintain a natural hairline.
-
Secure Properly: Use a strong adhesive to keep the lace in place. Press the lace into the adhesive gently and hold it for a few seconds.
-
Blend Well: Apply flesh-toned powder to the lace cap and blend it with your skin. Focus on areas where the lace meets your skin.
-
Style Thoughtfully: Use a curling iron or flat iron to style the wig. Always apply a heat protectant spray before styling.
For more detailed guidance, check out the Video Tutorial provided by Luvme Hair. The Guide by Luvme Hair offers step-by-step instructions and tips for a natural look. Luvme Hair has crafted this detailed guide to ensure you achieve the best results.
Undetectable Full Lace Wig
Install Your Undetectable Full
Ensuring a Seamless Blend
Start by preparing your natural hair. Braid it down flat to create a smooth base. Choose a wig cap that matches your skin tone. Secure the cap with an extreme hold spray. This step ensures the wig cap stays in place.
Next, position the Undetectable Full Lace Wig on your head. Align the lace with your natural hairline. Use a needle and thread to sew the lace down. Start from the back and move towards the front. Make small, tight stitches for stability.
Apply flesh-toned powder to the lace. Use a makeup brush to blend the powder. Focus on areas where the lace meets your skin. This step helps the lace blend seamlessly with your scalp. The Clear Lace Wig by Luvme Hair offers an undetectable hairline. This feature mimics real hair growth.
Achieving a Flawless Finish
Trim the lace close to the hairline. Use sharp scissors for precision. Avoid cutting too much at once. Small, controlled cuts work best. This step ensures a natural look.
Secure the lace with gel or glue. Apply a thin layer along your hairline. Press the lace into the adhesive gently. Hold it in place for a few seconds. Allow the adhesive to dry completely before styling.
Style the wig as desired. Use a curling iron for soft waves or curls. For a sleek look, use a flat iron. Always apply a heat protectant spray before styling. This protects the hair from damage.
Finish by checking the overall appearance. Tweak any areas that need adjustment. Use a light hairspray to hold the style in place. Enjoy the beauty of your perfectly styled wig. The Full Lace Wig Flawlessly blends with your natural hair. This ensures a flawless finish.
Go ahead and start styling your new 360 lace wig from Luvmeforyou. The versatility in hairstyle options is endless. You can achieve any look, whether it's a high bun or soft waves. This Installation Guide ensures you get a natural and flawless finish. Explore more styles and tips from Luvmeforyou to keep your hair game strong. Don't forget to share your transformation on social media and Post comment about your experience. Stay tuned for more articles from our Luvme Contributor.


