


Step-by-Step Guide to Making a Closure Wig
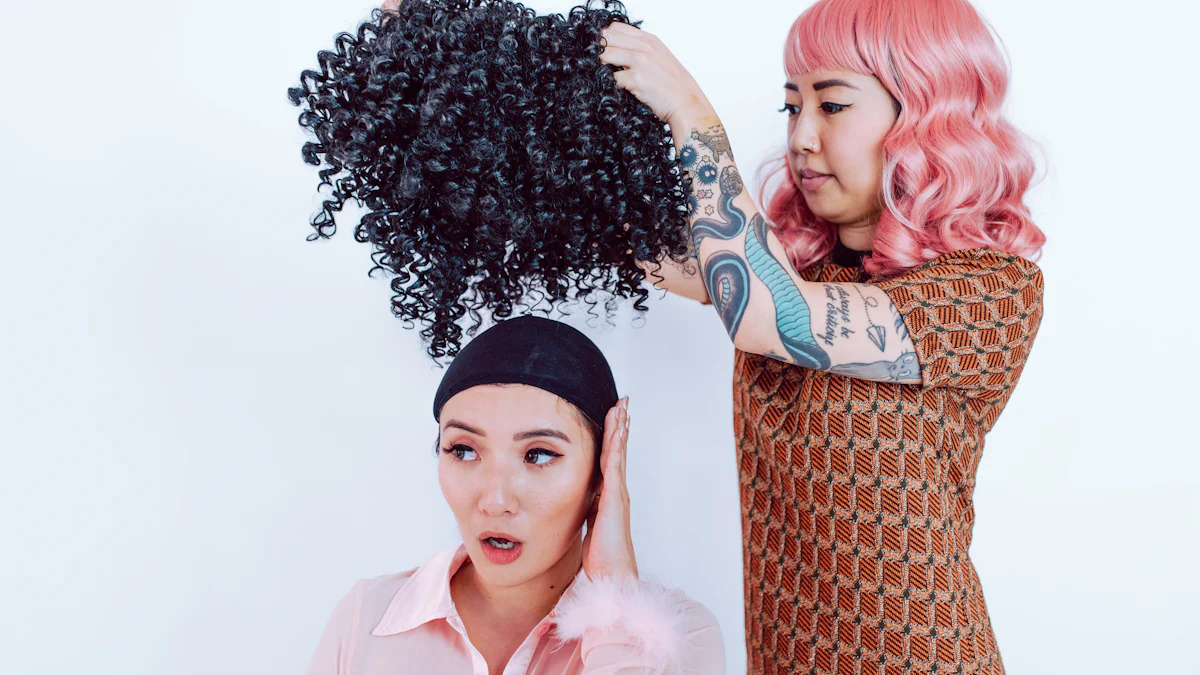
A closure wig is a type of wig that features a lace closure piece, which mimics the natural scalp and hairline. Making a wig with closure offers numerous benefits. Creating a custom unit allows for a perfect fit and personalized style. Luvmeforyou emphasizes that making your own wig can save money compared to purchasing pre-made options. A highlight closure wig provides versatility and protects natural hair from frequent manipulation.
Materials and Tools Needed

Essential Materials
Closure Piece
A closure piece serves as the foundation for a natural-looking wig. The lace closure mimics the scalp, providing a realistic appearance. Choose a closure that matches the desired hair texture and color.
Wig Cap
A wig cap forms the base of the wig. It holds the hair bundles and closure in place. Select a breathable and stretchable wig cap for comfort and durability.
Hair Bundles
Hair bundles provide the volume and length for the wig. Opt for high-quality hair bundles that match the closure piece. This ensures a cohesive and natural look.
Needle and Thread
A needle and thread are essential for sewing the hair bundles and closure onto the wig cap. Use a curved needle for easier maneuvering. Choose a strong thread that matches the hair color.
Wig Stand or Mannequin Head
A wig stand or mannequin head provides a stable base for constructing the wig. It helps maintain the shape and allows for easy access during the sewing process.
Additional Tools
Scissors
Scissors are necessary for cutting the hair bundles and trimming excess lace. Use sharp scissors to ensure clean cuts.
Hair Clips
Hair clips help section the hair during the construction process. They keep the hair out of the way, making it easier to work on specific areas.
Measuring Tape
A measuring tape ensures accurate measurements for the wig cap and hair bundles. Proper measurements guarantee a well-fitting and balanced wig.
Tweezers
Tweezers are used for plucking the hairline of the closure. This creates a more natural and less dense hairline.
Hair Glue (Optional)
Hair glue can be used to secure the closure and hair bundles. It provides additional hold and stability. Use glue sparingly to avoid damage to the hair and wig cap.
Preparing the Closure and Wig Cap
Bleaching the Knots
Mixing the bleach
Mix bleach powder with a developer in a non-metallic bowl. Follow the instructions on the bleach package for the correct ratio. Stir the mixture until it reaches a thick, creamy consistency.
Applying the bleach to the closure
Turn the lace closure inside out. Use a brush to apply the bleach mixture to the knots on the lace. Ensure that the bleach covers all the knots evenly. Avoid pressing too hard to prevent the bleach from seeping through the lace.
Rinsing and neutralizing the bleach
Allow the bleach to process for the recommended time on the package. Rinse the closure thoroughly with lukewarm water. Use a neutralizing shampoo to stop the bleaching process. Rinse again until the water runs clear.
Plucking the Hairline
Sectioning the hair
Place the closure on a wig stand or mannequin head. Use hair clips to section off the front part of the closure. Secure the rest of the hair away from the working area.
Using tweezers to pluck
Hold the tweezers at an angle. Gently pluck small sections of hair from the hairline. Remove a few hairs at a time to avoid over-plucking. Create a more natural and less dense hairline.
Creating a natural hairline
Alternate between plucking and combing through the hair. This helps to see the progress and avoid bald spots. Continue plucking until the hairline looks natural and blends seamlessly with the scalp.
Making a Wig with Closure: Sewing the Closure onto the Wig Cap
Positioning the Closure
Aligning the closure on the wig cap
Place the wig cap securely on a wig stand or mannequin head. Ensure the cap fits snugly to prevent movement during sewing. Position the lace closure at the front of the wig cap. Align the closure with the natural hairline. Make sure the edges of the closure lay flat against the cap.
Securing with pins or clips
Use T-pins or hair clips to secure the closure in place. Place pins along the perimeter of the closure. This will hold the closure steady while sewing. Double-check the alignment to ensure accuracy. A properly positioned closure creates a natural-looking wig.
Sewing Techniques
Using a needle and thread
Thread a curved needle with strong thread that matches the hair color. Start sewing from one corner of the closure. Use a blanket stitch to attach the closure to the wig cap. Insert the needle through the lace and cap, then loop the thread around the needle to create a knot. Continue stitching along the edge of the closure.
Ensuring tight and secure stitches
Keep the stitches close together for a secure hold. Tighten each stitch to prevent gaps between the closure and cap. Avoid pulling the thread too tightly to prevent tearing the lace. Work methodically around the entire perimeter of the closure. Secure the end of the thread with a knot when finished. Proper sewing ensures the closure stays in place during wear.
Making a Wig with Closure: Attaching Hair Bundles to the Wig Cap

Measuring and Cutting Wefts
Measuring the wefts to fit the wig cap
Place the wig cap on a mannequin head. Use a measuring tape to measure the width of the wig cap from ear to ear. Record the measurements for accuracy. This ensures that the hair bundles fit the wig cap perfectly.
Cutting the wefts to size
Lay the hair bundles flat on a clean surface. Use the recorded measurements to mark the desired lengths on the wefts. Cut the wefts carefully with sharp scissors. Make sure each piece matches the measured sections of the wig cap.
Sewing the Wefts
Starting from the back
Begin sewing the hair bundles at the back of the wig cap. Secure the end of the weft with a needle and thread. Use a blanket stitch to attach the weft to the cap. Ensure that the stitches are tight and secure. Move gradually towards the front, maintaining even spacing between the wefts.
Using a fold-over method
When reaching the end of a row, fold the weft over and continue sewing in the opposite direction. This method prevents cutting the wefts too short and reduces shedding. The fold-over technique also creates a more natural look by ensuring that the hair lays flat against the scalp.
Ensuring even distribution
Distribute the hair bundles evenly across the wig cap. Avoid placing too much hair in one area. This ensures a balanced and natural appearance. Check the wig frequently during the sewing process to maintain even distribution. Adjust the placement of the wefts as needed for a cohesive look.
Personal Experience: Many individuals find that starting at the bottom of the wig cap and working upwards helps in achieving a more natural flow of the hair. This method also ensures that the wig fits securely and lays flat against the head.
A highlight closure wig can offer versatility and a natural-looking hairline. By following these steps, anyone can create a beautiful and customized wig. The process may seem daunting at first, but with practice, it becomes an enjoyable and rewarding experience.
Styling and Finishing the Wig
Cutting and Shaping
Trimming excess lace
Trim the excess lace from the closure. Use sharp scissors for a clean cut. Follow the natural hairline to avoid cutting too much lace. Ensure that the lace blends seamlessly with the scalp.
Cutting the hair to desired length
Cut the hair to the desired length. Use a comb to section the hair evenly. Cut small sections at a time to maintain control. Check the length frequently to ensure uniformity. A well-cut wig enhances the overall appearance.
Styling Tips
Curling or straightening the hair
Style the wig using curling irons or straighteners. Set the tools to a moderate temperature to prevent damage. Curl or straighten small sections for better results. Allow the hair to cool before touching it. This helps the style to set properly.
Using hair products for finishing
Apply hair products to achieve the desired finish. Use a light hairspray to hold curls in place. Apply a serum for added shine and smoothness. Avoid heavy products that can weigh down the hair. Proper styling products enhance the wig's natural look.
Testimonial:
"Lace closure wigs offer a range of benefits that make them a game-changer in the world of wig-wearing. The hand-tied lace closure creates a realistic hairline that mimics the appearance of your natural hair. This makes the wig virtually undetectable, even when viewed up close."
Creating a closure wig involves several key steps. First, gather all necessary materials and tools. Next, prepare the closure and wig cap by bleaching the knots and plucking the hairline. Then, sew the closure onto the wig cap, ensuring tight and secure stitches. Attach the hair bundles, starting from the back and using a fold-over method for even distribution. Finally, style and finish the wig by trimming excess lace and cutting the hair to the desired length.
Making a closure wig can seem challenging, but practice makes the process enjoyable and rewarding. Explore related products or tutorials to enhance your wig-making skills.


