Step-by-Step Tutorial for Installing a Crochet U-Part Wig

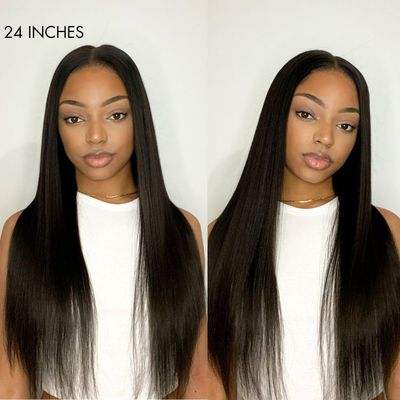
Creating your own crochet U-part wig offers many benefits. You can achieve a natural look without spending hours in front of the mirror. The process allows you to blend your natural hair with the wig, providing a seamless appearance. Luvmeforyou's Kinky Straight Human Hair Crochet Extensions make this DIY project even more rewarding. These extensions offer versatility and durability. To get started, gather essential materials like a crochet needle, wig cap, and scissors. The step-by-step guide will walk you through the entire process, ensuring a flawless finish. Whether you're aiming for a classic U-part wig or experimenting with a trendy copper U-part wig, Luvmeforyou has you covered.
Preparation
Gathering Materials
List of required materials
Before starting, gather all the necessary materials. Here's a list to help you:
Kinky Straight Human Hair Crochet Extensions from Luvmeforyou
A durable wig cap
A crochet needle
Scissors
Wig clips
Mannequin head
Measuring tape
Hair clips
Tips on choosing the right materials
Choosing the right materials ensures a better result. Invest in high-quality human hair extensions. These blend seamlessly with your natural hair and last longer. A sturdy wig cap keeps the wig in place and maintains its shape. Secure wig clips around the U-part section for added stability.
Setting Up Your Workspace
Importance of a clean and organized workspace
A clean and organized workspace makes the process smoother. Clear any clutter from your work area. This helps you focus and reduces the risk of losing small items like wig clips or needles.
Tools and accessories to have on hand
Keep essential tools and accessories within reach. Here’s what you need:
A mannequin head for positioning the wig cap
Hair clips for sectioning hair
Measuring tape for accurate measurements
Scissors for cutting the U-part
A mirror to check your progress
Having everything ready saves time and makes the installation process more enjoyable.
Creating the Base

Placing the Wig Cap
Positioning the wig cap on a mannequin head
Start by placing the wig cap on a mannequin head. The mannequin head helps you work more efficiently. Make sure the wig cap covers the entire head. Adjust the cap until it sits snugly.
Ensuring a secure fit
Ensure the wig cap fits securely. Use wig clips to hold the cap in place. Check for any loose areas and adjust as needed. A secure fit prevents the cap from shifting during the installation process.
Cutting the U-Part
Measuring and marking the U-part section
Next, measure and mark the U-part section. Use a measuring tape for accuracy. Mark the desired area with a hair clip or chalk. This step ensures the U-part wig will blend seamlessly with your natural hair.
Cutting the U-part to the desired size and shape
Cut the U-part to the desired size and shape. Use sharp scissors for a clean cut. Follow the marked lines carefully. Take your time to avoid mistakes. A well-cut U-part makes the installation easier.
Securing the Edges
Using clips to prevent fraying
Secure the edges of the U-part with clips. Clips prevent the edges from fraying. Place clips around the entire U-part section. This step keeps the wig looking neat and professional.
Reinforcing the edges for durability
Reinforce the edges for added durability. Use a needle and thread to sew around the edges. This extra step strengthens the U-part wig. A reinforced edge ensures the wig lasts longer and maintains its shape.
Installing the Extensions

Attaching the Extensions
Using a crochet needle to attach extensions
Grab your crochet needle and start attaching the extensions. Use the needle to pull small sections of hair through the wig cap. This method ensures a secure attachment. Make sure each loop is tight to prevent slipping.
Starting from the bottom and working upwards
Begin at the bottom of the wig cap. Work your way up to the top. This approach helps in maintaining an even distribution. Attach each extension close to the previous one. This technique creates a fuller look.
Ensuring Even Distribution
Techniques for even spacing
Even spacing is crucial for a natural appearance. Measure the gaps between each extension. Keep the spacing consistent. This step avoids any bulky or thin spots on the wig.
Checking for secure attachment
After attaching all the extensions, check for secure attachment. Tug gently on each section. Ensure none of the extensions come loose. A secure attachment guarantees the wig stays in place.
Finishing Touches
Trimming and Styling
Trimming excess hair for a neat appearance
Start by trimming any excess hair. Use sharp scissors to cut away stray hairs. Focus on creating a clean and even edge. This step helps the wig look polished and professional.
Styling tips for a natural look
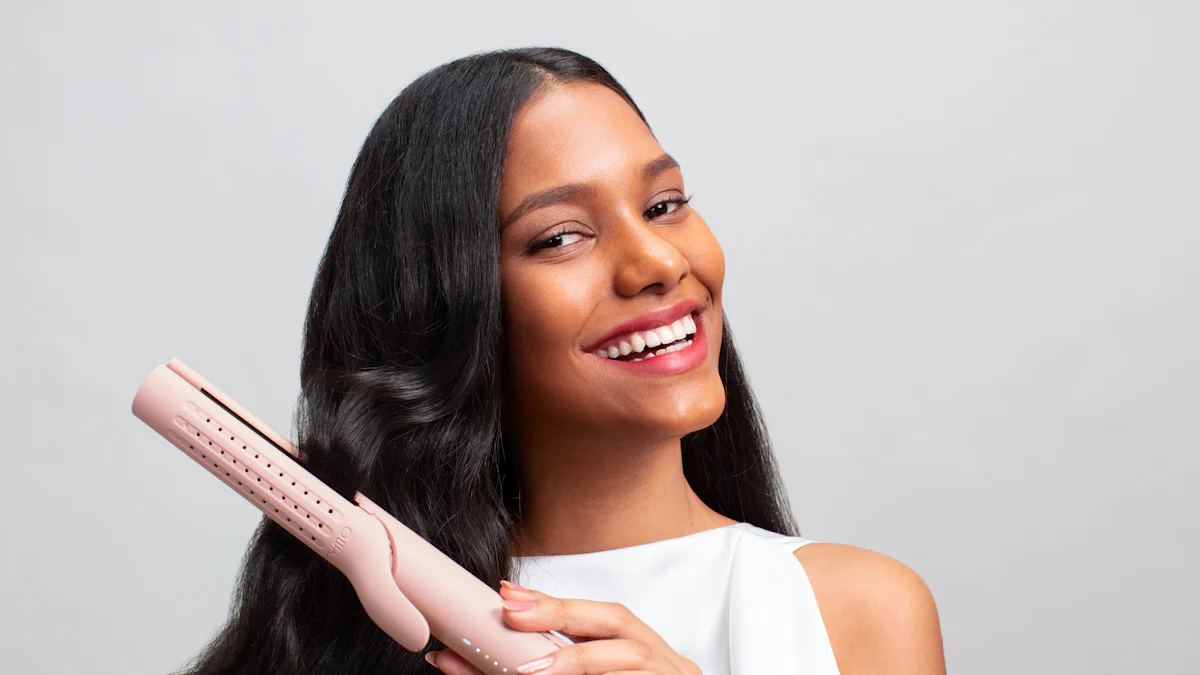
Style the wig to blend with your natural hair. Use a flat iron or curling wand for desired textures. For a more natural look, consider adding layers. Lightly mist the wig with water to help shape the style. Avoid using too much product to keep the hair looking fresh.
Securing the U-Part Wig
Methods to ensure the wig stays in place
Secure the wig to prevent shifting. Use wig clips around the U-part section. Attach the clips to your natural hair for extra hold. For added security, consider using bobby pins. Make sure the wig feels snug but comfortable.
Final adjustments for comfort and appearance
Make final adjustments for comfort. Check the fit around the edges. Adjust any areas that feel too tight or loose. Smooth down any bumps or uneven spots. Look in the mirror to ensure a seamless blend with your natural hair. Enjoy your new look!
Congratulations on completing your crochet U-part wig! Here are some final tips to perfect your new look. Experiment with different styles and textures. Try blending colors for a unique touch. Remember, practice makes perfect. Don’t hesitate to share your creations. Your feedback helps others improve their skills. Enjoy the versatility and natural appearance of your new wig. Happy styling!


