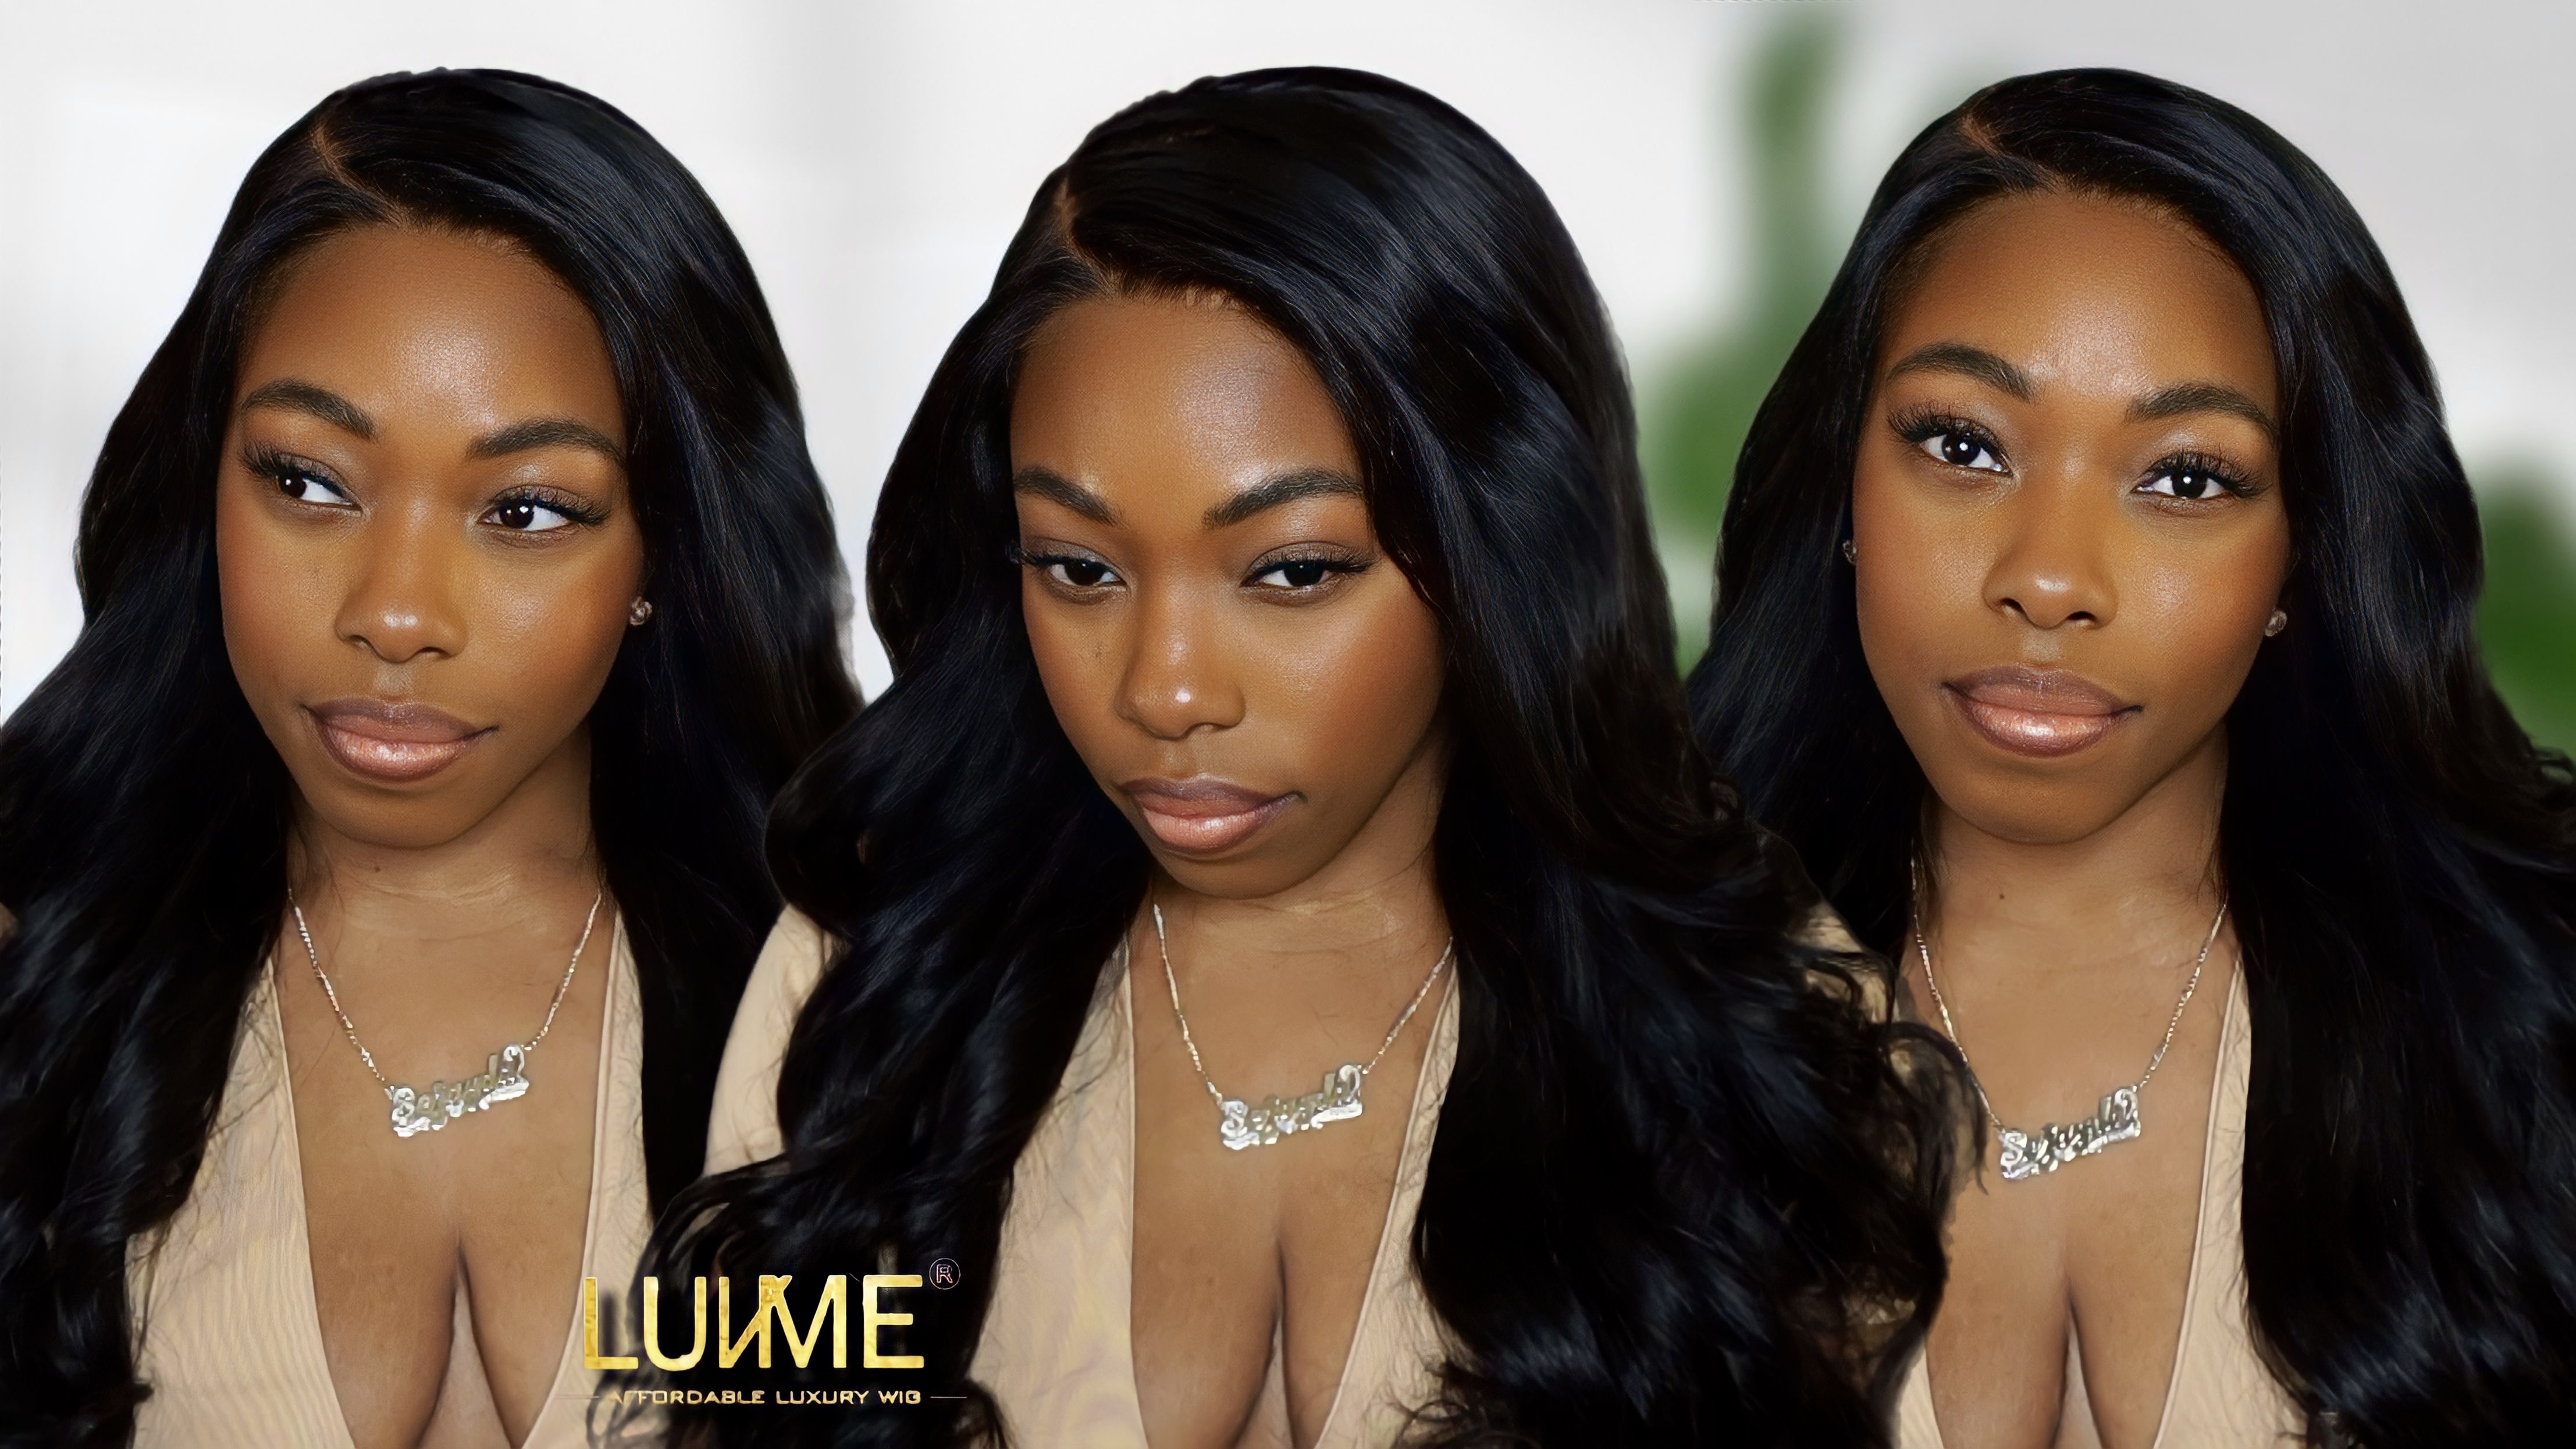
Top 5 360 Lace Front Body Wave Wigs

The 360 lace wig has revolutionized the world of hair extensions. This innovative design from Luvmeforyou provides a natural and seamless look by covering the entire head perimeter. Unlike traditional lace frontals, the 360 lace front wig body wave offers versatility and ease of installation. The 360 kinky curly lace wig also allows for various styling options, making it a favorite among fashion enthusiasts.
Understanding 360 Lace Front Body Wave Wigs

What is a 360 Lace Frontal Wig?
Definition and Features
A 360 lace front wig body wave covers the entire head perimeter. This wig features lace that wraps around the forehead, ears, and back of the neck. The design ensures a natural look, allowing users to show off their hairline without revealing the wig. The lace construction provides a seamless blend with natural hair, enhancing the overall appearance.
Differences from Regular Lace Frontals
Regular lace frontals cover only the front portion of the head. In contrast, a 360 lace front wig body wave offers full coverage around the head. This difference allows for more versatile styling options. Regular lace frontals require more bundles for a full look, whereas the 360 design needs fewer bundles. The 360 lace frontal wig also reduces installation time compared to traditional lace frontals.
Benefits of 360 Lace Frontal Wigs
Reduced Installation Time
The 360 lace front wig body wave significantly cuts down on installation time. The pre-sewn lace around the head eliminates the need for extensive sewing. Users can achieve a full and voluminous look quickly. This feature makes the 360 lace frontal wig ideal for those with busy schedules.
Fewer Bundles Required
A 360 lace front wig body wave requires fewer bundles than regular lace frontals. Typically, only 2-3 bundles are necessary to achieve a full look. This reduction in bundles not only saves money but also makes the wig lighter and more comfortable to wear. The fewer bundles required contribute to a more natural appearance.
Versatile Styling Options
The 360 lace front wig body wave offers unparalleled versatility in styling. The lace around the perimeter supports various hairstyles, including updos and ponytails. Users can part the hair in any direction, allowing for diverse styles such as cornrows, half-up, half-down styles, and pigtails. This flexibility makes the 360 lace frontal wig a favorite among fashion enthusiasts.
Installation Guide for 360 Lace Front Body Wave Wigs

Prepping Natural Hair
Initial Steps for Preparing Natural Hair
Start by washing the natural hair thoroughly. Clean hair ensures a better grip for the wig. Use a sulfate-free shampoo to maintain the hair's natural oils. After washing, condition the hair to keep it moisturized. Dry the hair completely before moving to the next step. Moisture can affect the adhesive used later.
Next, braid the natural hair into cornrows. Cornrows provide a flat base for the wig. A flat base helps the wig sit naturally on the head. Secure the ends of the braids with small rubber bands. Tuck the ends under the braids to avoid bumps.
Preparing the Wig
Before installing the wig, adjust the wig to fit the head size. Use the adjustable straps inside the wig for a snug fit. Trim any excess lace from the wig carefully. Leave about half an inch of lace around the perimeter. This extra lace helps in securing the wig later.
Wig Cap Preparation
How to Prepare the Wig Cap
Choose a wig cap that matches the skin tone. A matching wig cap creates a seamless look. Place the wig cap over the braided hair. Make sure the wig cap covers all the hair. Smooth out any wrinkles in the cap to ensure a flat surface.
Apply a thin layer of gel or spray around the hairline. The gel or spray helps the wig cap stay in place. Wait for the gel or spray to become tacky before proceeding. This step ensures the wig cap adheres well to the scalp.
Securing the Wig Cap
Use a blow dryer on a cool setting to dry the gel or spray. The cool air helps set the adhesive without melting it. Once dry, trim any excess wig cap material. Cut as close to the hairline as possible. This trimming helps in creating a natural look.
Positioning and Securing the Frontal
Positioning the 360 Lace Frontal
Place the 360 lace frontal on the head. Align the lace with the natural hairline. Adjust the frontal until it sits comfortably. Ensure the lace covers the entire perimeter of the head. This alignment is crucial for a natural appearance.
Sewing Down the Frontal
Thread a needle with strong, matching thread. Start sewing the frontal from one ear to the other. Use small, tight stitches for a secure hold. Continue sewing around the back of the head. Finish by sewing down the other side, ending at the opposite ear.
Gluing Wefts
Process of Gluing in the Wefts
Gluing in the wefts begins with selecting high-quality adhesive. A strong bond ensures the wig stays secure. Apply a thin layer of glue along the weft track. Avoid using too much glue to prevent a messy application. Press the weft onto the wig cap, starting from the back. Hold the weft in place for a few seconds to allow the glue to set.
Continue this process, working your way up to the crown. Each weft should overlap slightly with the previous one. This technique creates a seamless and natural look. Allow the glue to dry completely before moving on to the next step. Drying time may vary depending on the adhesive used.
Securing the Lace
Securing the lace involves applying adhesive around the perimeter of the wig. Use a small brush to apply a thin layer of glue along the hairline. Wait for the glue to become tacky before pressing the lace into place. Start at the forehead and work your way around the head.
Press the lace firmly against the skin to ensure a secure hold. Use a fine-tooth comb to smooth out any wrinkles in the lace. This step ensures a flawless and natural appearance. Allow the adhesive to dry completely before styling the wig.
Finishing Touches
Finalizing the Installation
Finalizing the installation involves trimming any excess lace. Use sharp scissors to carefully cut the lace as close to the hairline as possible. Take your time to avoid cutting too much lace. A precise trim enhances the natural look of the wig.
Next, style the baby hairs around the hairline. Use a small brush and some gel to create soft, natural-looking edges. Baby hairs add a realistic touch to the wig. Ensure the wig fits snugly and comfortably on the head. Adjust the straps inside the wig if needed.
Achieving the Desired Look
Achieving the desired look involves styling the wig to suit personal preferences. The 360 lace front wig body wave offers endless styling options. Create a high ponytail or an elegant updo. Part the hair in any direction for versatile looks.
Experiment with different hairstyles to find the perfect one. The 360 kinky curly lace wig allows for creative expression. Use heat styling tools to curl or straighten the hair. Always use a heat protectant to maintain the quality of the wig. Enjoy the freedom to change hairstyles effortlessly.
Readers should follow the provided steps to install a 360 lace frontal wig. The installation process is simple and quick, making it accessible for beginners. The 360 lace frontal wig offers unparalleled versatility in styling. Users can experiment with various hairstyles, from high ponytails to elegant updos. The natural and seamless look enhances confidence and beauty. Embrace the convenience and flexibility of the 360 lace frontal wig. Enjoy the freedom to change hairstyles effortlessly and elevate your hair game with this innovative solution.


