How to Make a DIY U-Part Wig Cap

A DIY U-Part wig cap serves as the foundation for a versatile and stylish hairpiece. This cap features a U-shaped opening that allows you to blend your natural hair with the wig, creating a seamless look. Making your own DIY U-Part wig cap offers several benefits. You can customize the fit and style to match your preferences. Beginners will find this process rewarding and fun. Luvmeforyou provides essential tools and tips to make your DIY U-Part wig journey enjoyable. Whether you're new to creating a U-Part wig or looking to perfect your technique, Luvmeforyou has everything you need to succeed.
Materials Needed

Creating a DIY U-Part wig cap requires specific tools and supplies. Gathering these materials ensures a smooth and enjoyable process.
Tools
Wig Cap
A wig cap serves as the base for your U-Part wig. Choose a cap that fits comfortably on your head.
Scissors
Sharp scissors are essential. Use them to cut the hair wefts and trim the wig cap. Clean cuts make the process easier and more precise.
Needle and Thread
A needle and thread help secure the hair bundles to the wig cap. Opt for a sturdy thread that matches the color of the wig cap.
Hair Bundles
Select hair bundles that match your natural hair color and texture. This ensures a seamless blend.
Wig Clips
Wig clips secure the wig to your natural hair. These clips provide stability and prevent the wig from shifting.
Mannequin Head
A mannequin head holds the wig cap in place while you work. This tool makes the process more manageable.
Supplies
Measuring Tape
A measuring tape helps mark the U-part section accurately. Precise measurements ensure a perfect fit.
Hair Glue (Optional)
Hair glue can be used instead of sewing. This method speeds up the process but requires careful application.
Comb and Hair Clips
A comb and hair clips keep the hair bundles organized. These tools help maintain neatness while you work.
Gathering these materials sets the stage for creating a beautiful DIY U-Part wig cap. Each tool and supply plays a crucial role in achieving a professional result.
Step-by-Step Instructions for Making a DIY U-Part Wig Cap

Preparing the Wig Cap
Placing the Wig Cap on the Mannequin Head
Secure the wig cap on the mannequin head. Use pins to hold the cap in place. This step ensures stability while working.
Marking the U-Part Section
Use a measuring tape to mark the U-part section. Draw a U-shape on the cap with a fabric marker. Ensure the U-part aligns with your natural hair part.
Cutting the U-Part Section
Cut along the marked U-shape with sharp scissors. Make clean cuts to avoid fraying. This opening will allow your natural hair to blend seamlessly with the wig.
Sewing the Hair Bundles
Starting at the Back of the Cap
Begin sewing the hair bundles at the back of the cap. Use a needle and thread that match the color of the wig cap. Secure the first weft by stitching it firmly.
Sewing the Hair Bundles in Rows
Sew the hair bundles in horizontal rows. Start from the bottom and work your way up. Keep the rows evenly spaced for a natural look.
Ensuring Even Distribution
Distribute the hair bundles evenly across the cap. Check for any gaps or uneven areas. Adjust as needed to maintain a consistent appearance.
Adding Wig Clips
Positioning the Clips Around the U-Part
Position the wig clips around the U-part opening. Place clips at regular intervals for secure attachment. Ensure the clips align with your natural hairline.
Sewing the Clips Securely
Sew the wig clips securely onto the cap. Use strong thread to prevent the clips from coming loose. Double-stitch each clip for added security.
Testing the Clip Placement
Test the placement of the clips by attaching the wig to your natural hair. Make adjustments if necessary. Ensure the wig feels comfortable and stays in place.
Tips for Customizing Your DIY U-Part Wig Cap
Choosing the Right Hair Type
Human Hair vs. Synthetic Hair
Human hair offers a natural look and feel. This type of hair can be styled with heat tools. Human hair also lasts longer with proper care. Synthetic hair costs less and requires less maintenance. However, synthetic hair cannot handle heat styling well. Choose based on your budget and styling needs.
Matching Hair Texture to Your Natural Hair
Matching the wig's texture to your natural hair ensures a seamless blend. Curly hair blends well with curly wigs. Straight hair pairs best with straight wigs. Consider your hair's thickness and density. A good match creates a more natural appearance.
Styling the Wig
Cutting and Shaping the Wig
Cutting the wig allows for a personalized style. Use sharp scissors for clean cuts. Trim the ends to remove any uneven strands. Shape the wig to frame your face. A layered cut adds volume and movement. Take your time to achieve the desired look.
Using Heat Tools for Styling
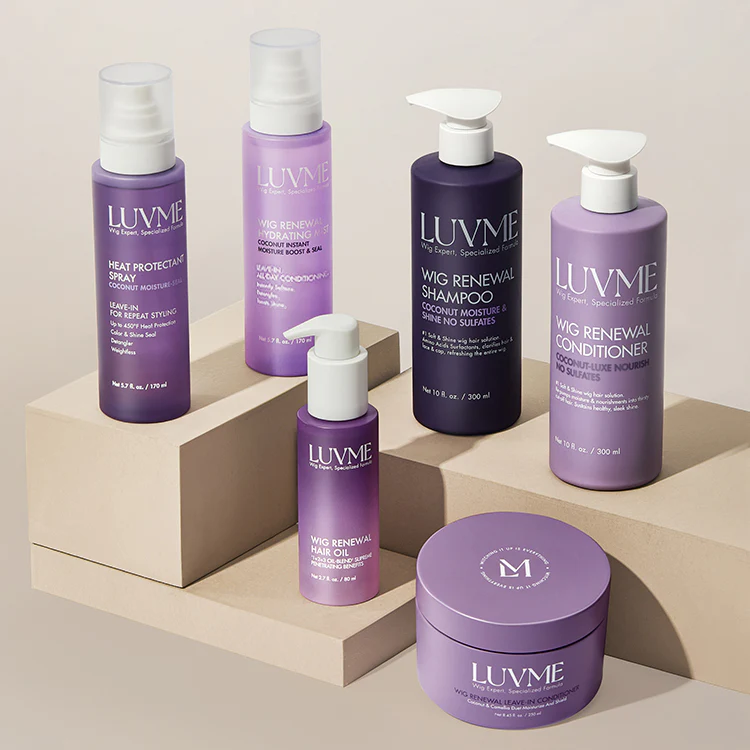
Heat tools help create various styles. Curling irons add waves or curls. Flat irons straighten the hair for a sleek look. Always use a heat protectant spray. This prevents damage to the hair fibers. Start with a low heat setting and adjust as needed. Experiment with different styles to find what suits you best.
Common Mistakes to Avoid
Incorrect Measurements
Ensuring Accurate Measurements for the U-Part
Accurate measurements play a crucial role in making a U-Part wig. Use a measuring tape to mark the U-part section precisely. Align the U-part with your natural hair part. This ensures a seamless blend and a natural look.
Double-Checking Before Cutting
Double-check all measurements before cutting the U-part section. Rushing this step can lead to mistakes. Take your time and verify each mark. This prevents errors and ensures a perfect fit.
Uneven Sewing
Maintaining Consistent Tension While Sewing
Maintaining consistent tension while sewing the hair bundles is essential. Uneven tension can cause gaps or loose threads. Keep a steady hand and sew each row with care. This creates a smooth and professional appearance.
Checking for Gaps or Loose Threads
Regularly check for gaps or loose threads as you sew. Inspect each row for any inconsistencies. Fix any issues immediately to avoid a patchy look. This attention to detail ensures a flawless finish.
Creating a U-Part wig involves precision and patience. Avoiding these common mistakes will help you achieve a natural and comfortable wig that enhances your overall style.
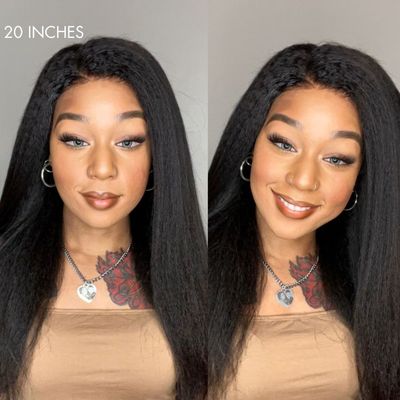
Creating a DIY U-Part wig cap offers many benefits. Customizing your own wig cap ensures a perfect fit and style. The process can be both fun and rewarding. Experiment with different hair types and styles to find what suits you best. Use high-quality human hair for durability and a natural look. Luvmeforyou provides essential tools and tips to make the process easier. Try this DIY project to boost your confidence and enhance your personal style. For a ready-made option, consider the Kinky Straight U Part Quick & Easy Affordable 100% Human Hair Wig from Luvmeforyou.


