Step-by-Step Guide to Making a U-Part Wig

A U-Part wig offers a natural-looking hairstyle by allowing the blending of your natural hair with the wig, creating a seamless integration. Making a DIY U-Part wig provides exceptional styling versatility and a natural appearance. High-quality human hair ensures durability and longevity compared to synthetic wigs. This guide, brought to you by Luvmeforyou, caters to beauty enthusiasts seeking to create personalized, comfortable, and stylish wigs. The goal is to educate on crafting a unique look tailored to individual preferences. Additionally, understanding the difference between V part and U part wigs can help you choose the best option for your styling needs.
Tools and Materials Needed

Essential Tools
Wig cap
A wig cap serves as the foundation for the U-Part wig. It provides a base to attach the hair wefts securely. Choose a wig cap that matches your skin tone for a natural look.
Hair wefts
Hair wefts are the strands of hair that will be sewn or glued onto the wig cap. High-quality human hair wefts ensure durability and a natural appearance. Synthetic hair can also be used but may not last as long.
Needle and thread
A needle and thread are necessary for sewing the hair wefts onto the wig cap. A curved needle works best for this task. Use thick black thread to match the hair color and ensure strong attachment.
Scissors
Scissors are essential for cutting the hair wefts and trimming the wig cap. Sharp scissors provide clean cuts, making the process easier and more precise.
Mannequin head
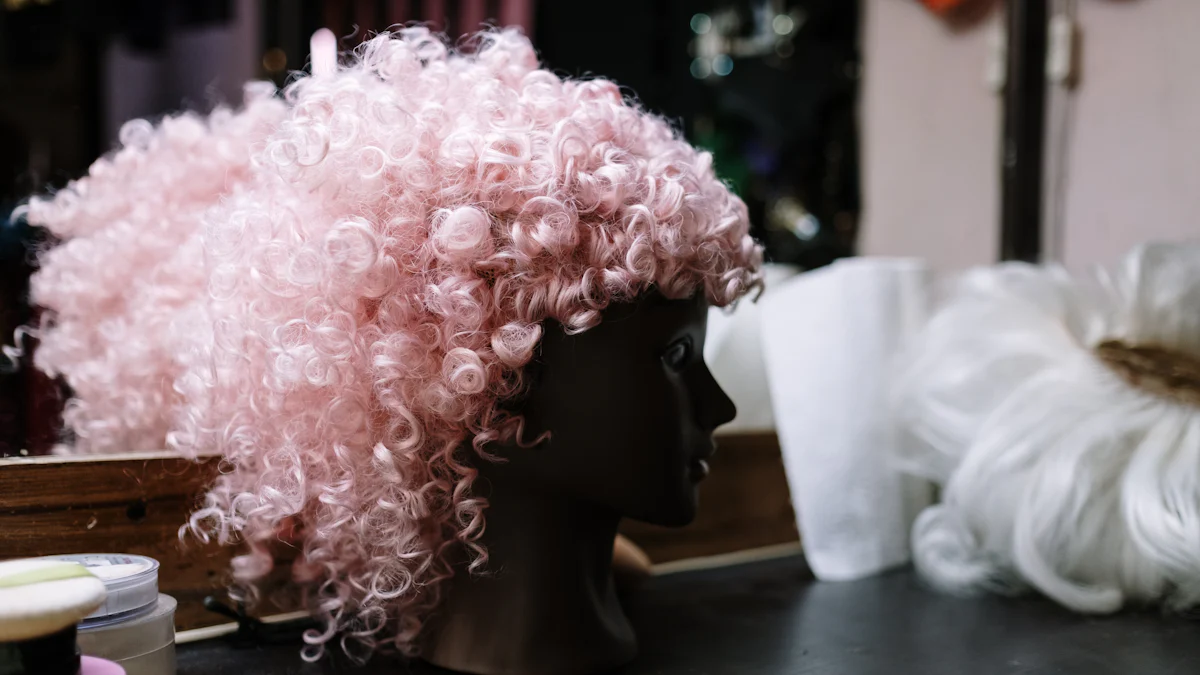
A mannequin head holds the wig cap in place while you work. It helps maintain the shape and structure of the wig during the creation process. A foam head is a popular choice due to its lightweight and ease of use.
Optional Tools
Hot glue gun
A hot glue gun offers an alternative method for attaching hair wefts to the wig cap. This tool provides a quicker solution compared to sewing. Ensure the glue is suitable for use with hair and fabric.
Wig stand
A wig stand supports the mannequin head, providing stability while you work. It allows for easy access to all angles of the wig, making the process more efficient.
Hair clips
Hair clips help section off the hair wefts during the attachment process. They keep the hair organized and prevent tangling, ensuring a smooth workflow.
Measuring tape
A measuring tape ensures accurate placement of the U-part opening. Measure your head and mark the wig cap accordingly to achieve a perfect fit.
Applying and maintaining your U-Part wig will be much easier and more efficient if you have the recommended wig tools. By adding these tools to your wig routine, you'll increase your wig’s longevity and help it retain its natural look, thereby allowing it to become a signature look of your daily style.
Preparing the Hair
Choosing the Right Hair
Types of hair (synthetic vs. human hair)
Selecting the appropriate hair type is crucial for a U-Part wig. Human hair offers a natural look and feel. Human hair also allows for styling versatility. Synthetic hair provides a budget-friendly option. However, synthetic hair may not last as long as human hair.
Length and texture considerations
Consider the desired length and texture when choosing hair wefts. Longer hair wefts offer more styling options. Shorter hair wefts provide a more manageable length. Texture plays a significant role in achieving a natural blend. Match the texture of the hair wefts to your natural hair for a seamless look.
Washing and Conditioning
Importance of clean hair
Clean hair ensures a healthy and natural appearance. Dirty hair can cause buildup and tangling. Washing the hair before creating the wig is essential. Clean hair also helps in the proper attachment of the wefts.
Recommended products
Use high-quality products for washing and conditioning. Shampoos and conditioners designed for wigs work best. Products like Aussie 3 Minute Miracle Moist provide deep conditioning. Oyin's Hair Dew offers excellent hydration. These products help maintain the hair's softness and shine.
Creating the U-Part Wig

Method 1: Sewing
Preparing the wig cap
Place the wig cap on a mannequin head. Secure the cap with pins to keep it in place. Mark the U-part opening on the cap using a white pencil or chalk. Ensure the U-shape aligns with your natural parting.
Sewing the hair wefts
Thread a curved needle with thick black thread. Knot the end of the thread to secure it. Start sewing the hair wefts at the nape of the neck. Use a blanket stitch to attach the wefts to the wig cap. Continue sewing in a horizontal pattern, moving upwards. Ensure each row is close to the previous one for a full look.
Creating the U-part opening
Cut along the marked U-shape on the wig cap. Be careful not to cut the sewn wefts. Reinforce the edges of the U-part with extra stitches. This step prevents fraying and ensures durability. The U-part wig is now ready for installation.
Method 2: Using a Hot Glue Gun
Preparing the wig cap
Place the wig cap on a mannequin head. Secure the cap with pins to keep it in place. Mark the U-part opening on the cap using a white pencil or chalk. Ensure the U-shape aligns with your natural parting.
Gluing the hair wefts
Heat the hot glue gun until the glue melts. Apply a thin line of glue along the edge of the wig cap. Press the hair weft onto the glue and hold it until it sets. Continue gluing the wefts in a horizontal pattern, moving upwards. Ensure each row is close to the previous one for a full look.
Creating the U-part opening
Cut along the marked U-shape on the wig cap. Be careful not to cut the glued wefts. Reinforce the edges of the U-part with extra glue. This step prevents fraying and ensures durability. The U-part wig is now ready for installation.
Installing the U-Part Wig
Preparing Your Natural Hair
Braiding or slicking down your hair
Start by washing and drying your hair thoroughly. Clean hair ensures a smooth installation process. Braid your hair into cornrows or slick it down flat against your scalp. This step prevents bumps and lumps that could obstruct the wig's fitting. Secure the ends of the braids with small rubber bands.
Leaving out the U-part section
Leave out a section of your natural hair where the U-part opening will be. This section should match the size and shape of the U-part on the wig cap. Ensure the leave-out hair is clean and free of any product buildup. Style this section to match the texture of the wig for a seamless blend.
Securing the Wig
Using wig clips or combs
Place the U-part wig over your head, aligning the U-part opening with the leave-out section. Use wig clips or combs to secure the wig in place. Attach the clips or combs to the braided sections of your natural hair. This method provides a secure hold without causing tension on your scalp.
Adjusting for comfort and fit
Adjust the wig for comfort and fit. Ensure the wig sits flat against your scalp without any gaps. Tighten or loosen the adjustable straps inside the wig cap as needed. Check that the U-part opening aligns perfectly with your natural parting. Make any necessary adjustments to achieve a natural look.
Regularly care for both your wig and natural hair. Keeping your scalp and natural hair clean and moisturized underneath the wig is crucial for maintaining overall hair health. After removing the wig, take care of your natural hair by cleansing, conditioning, and giving it a break from tension to prevent damage and promote healthy hair growth.
By following these steps, you can ensure a secure and comfortable fit for your U-part wig. Proper preparation and installation techniques will help you achieve a natural and seamless look.
Styling and Maintenance Tips
Blending Your Natural Hair
Techniques for a seamless look
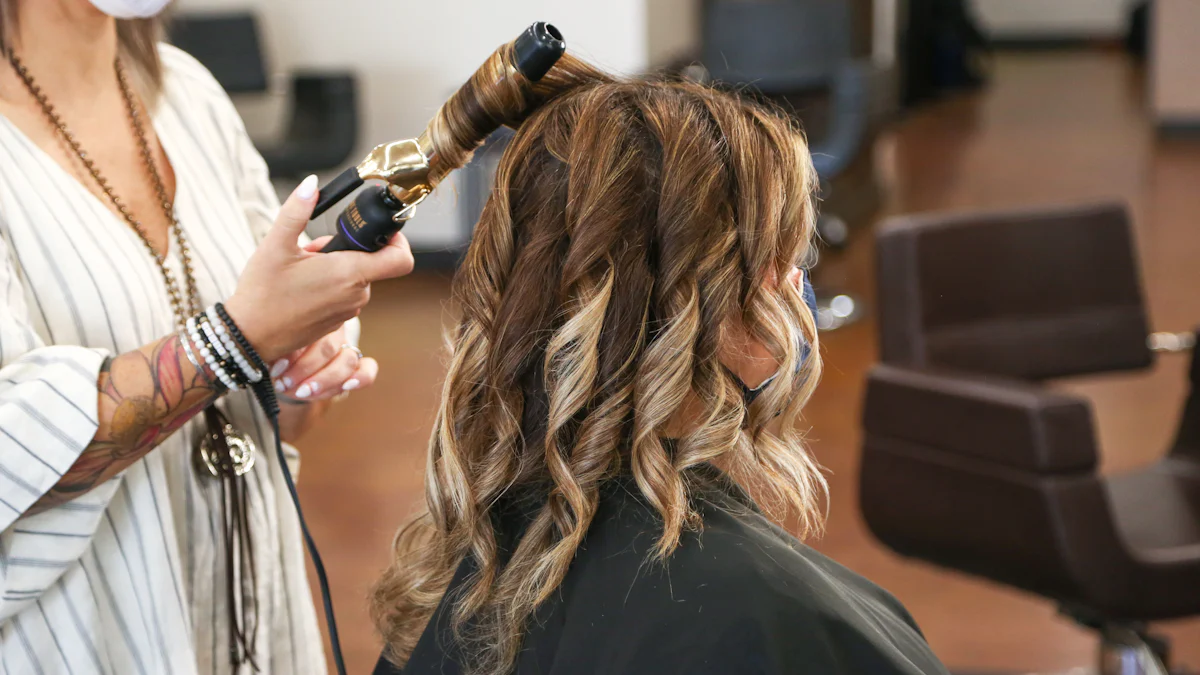
Achieving a seamless blend between your natural hair and the U-Part wig requires specific techniques. Start by straightening or curling your natural hair to match the texture of the wig. Use a flat iron or curling wand for this purpose. Part your natural hair along the U-part opening. Comb through the leave-out section to ensure smoothness. Apply a small amount of edge control gel to tame any flyaways. Brush the leave-out hair over the wig's wefts. This step creates a natural transition. Secure the blended hair with bobby pins if necessary.
Recommended products
Using the right products enhances the blending process. Heat protectant spray shields your natural hair from heat damage. Edge control gel keeps the hairline sleek and polished. Lightweight hair serum adds shine and reduces frizz. Choose products that match your hair type for optimal results. Regular use of these products maintains a flawless look.
Caring for Your U-Part Wig
Washing and conditioning
Proper washing and conditioning extend the life of your U-Part wig. Fill a basin with lukewarm water. Add a small amount of sulfate-free shampoo. Gently swish the wig in the water. Avoid rubbing or twisting the hair. Rinse thoroughly with cool water. Apply a moisturizing conditioner. Leave it on for five minutes. Rinse again with cool water. Pat the wig dry with a towel. Avoid wringing out the hair. Allow the wig to air dry on a mannequin head.
Storing the wig properly
Proper storage keeps your U-Part wig in excellent condition. Place the wig on a mannequin head when not in use. This step helps maintain the shape and style. Cover the wig with a satin or silk scarf. This prevents dust accumulation and reduces friction. Store the wig in a cool, dry place. Avoid direct sunlight and heat sources. Regularly check the wig for tangles or knots. Gently detangle with a wide-tooth comb if necessary.
Milano Wigs, experts in hair styling, emphasize the importance of proper care and maintenance. Following these tips ensures your U-Part wig remains in top condition. Unlock the full potential of your U-Part human hair wig with these expert styling tips, designed to enhance your look and ensure your wig blends flawlessly with your natural hair.
Creating a U-Part wig offers numerous benefits. Making your own U-Part wig allows for customization and a perfect fit. The process can be both fun and rewarding. High-quality human hair ensures durability and a natural look. Luvmeforyou provides essential tools and tips to make the process easier. Trying this DIY project can boost confidence and enhance personal style.
Readers are encouraged to share their experiences and tips in the comments. Sharing knowledge helps others in the beauty community. Luvmeforyou values every contribution and looks forward to hearing from you.


